Sending an email campaign to your audience
Create an email campaign from a ready-made template, edit it, choose who receives it and check it before you send.
Email campaigns let you keep your audience up to date with new seasons, shows and events. You start from a ready-made template, make it your own and choose who receives it. Only people who have opted in to marketing emails will get it.
1. Open Campaigns
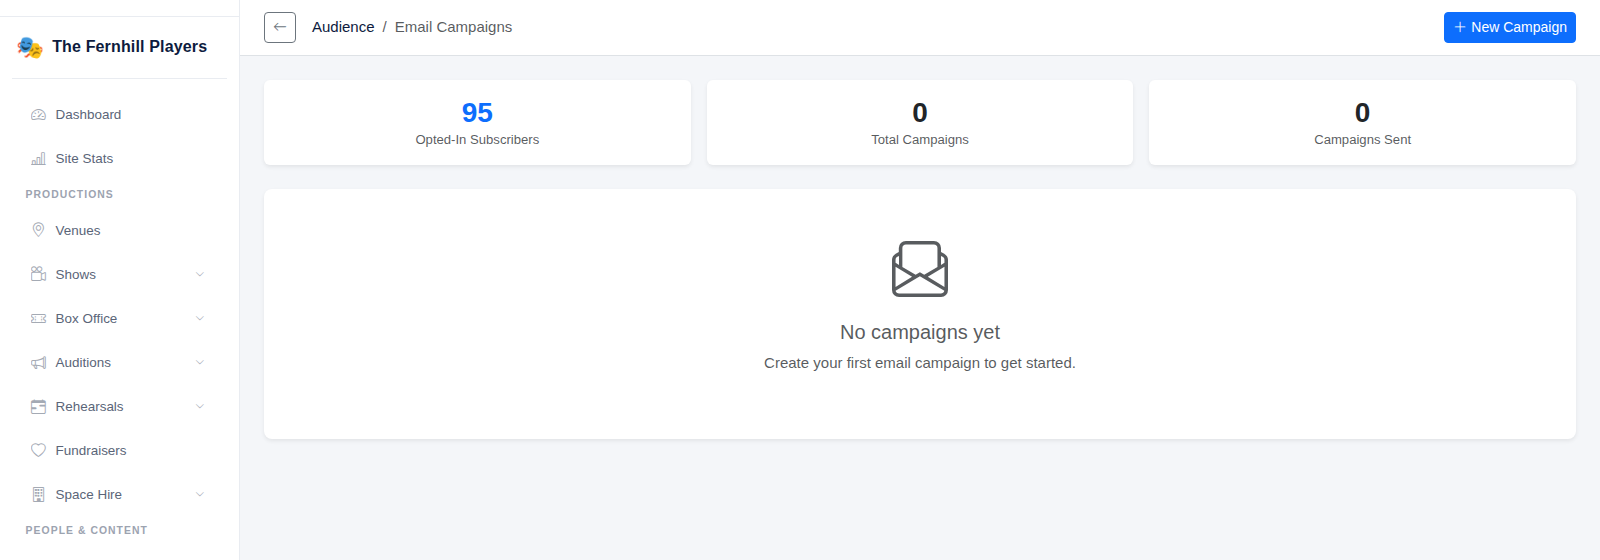
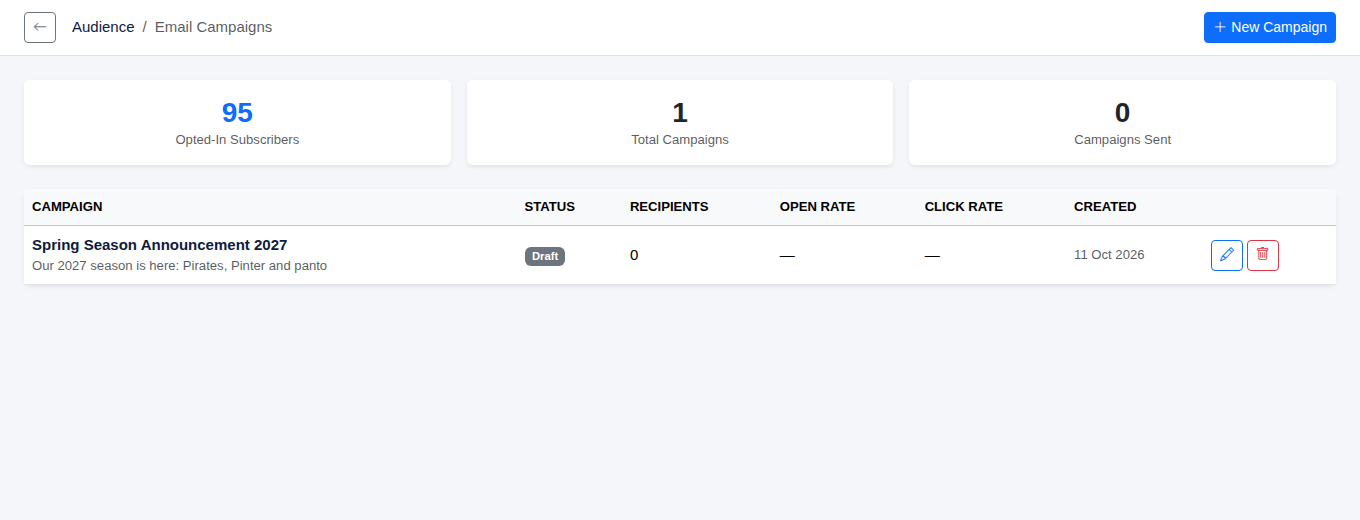
In the admin menu, go to Audience > Campaigns. At the top you'll see how many opted-in subscribers you have, how many campaigns you've created and how many you've sent. Click New Campaign.
2. Name it and choose a template
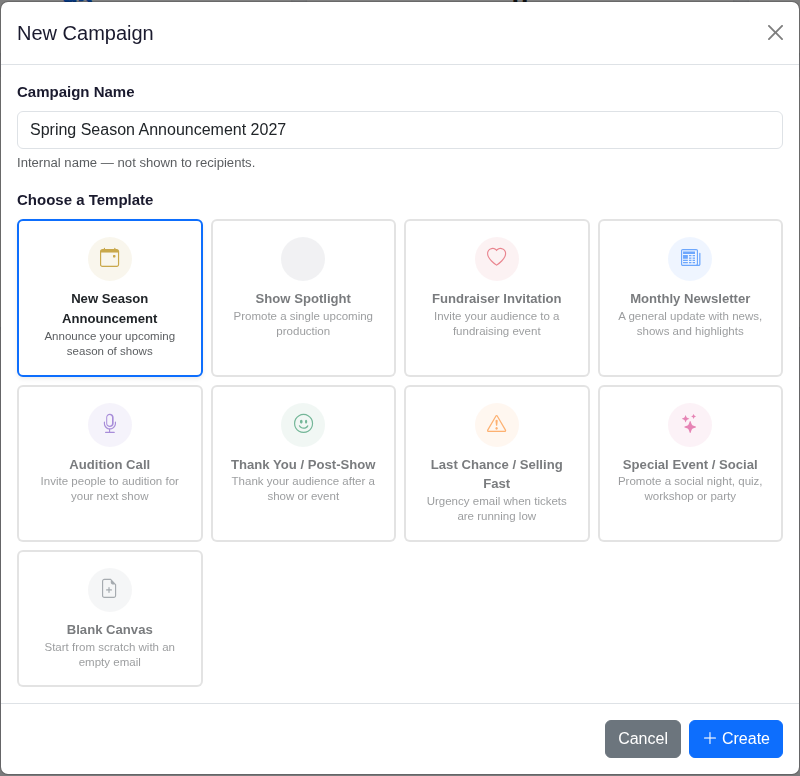
Enter a Campaign Name. This is just for you and isn't shown to recipients. Then pick a template under Choose a Template. There are templates for a new season, a show spotlight, fundraisers, a monthly newsletter, audition calls, thank-yous, last-chance ticket sales and social events, or you can start from a Blank Canvas. Click Create.
3. Add a subject line
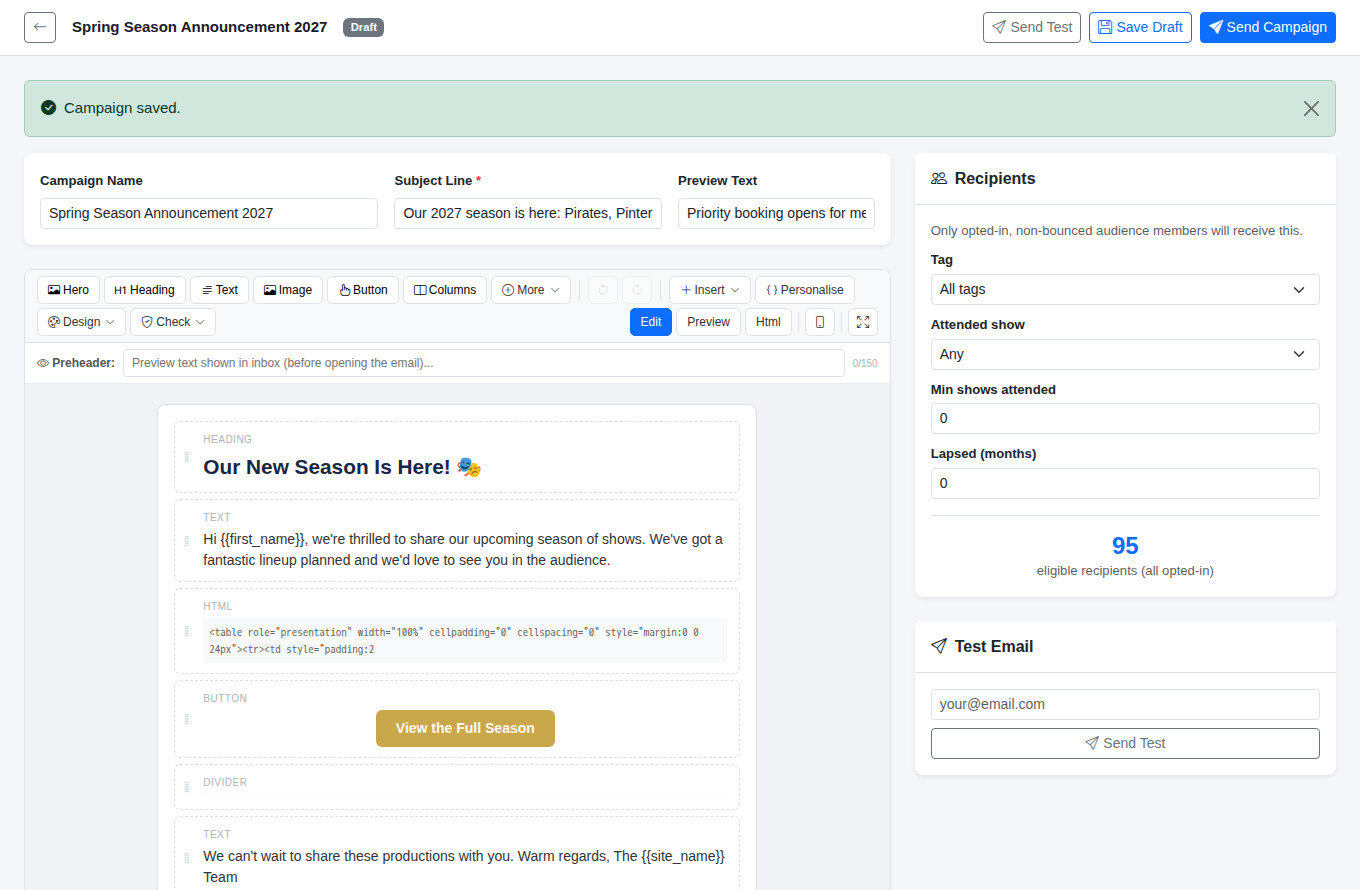
The campaign opens in the editor with the template already filled in. Enter a Subject Line and some Preview Text, which is the snippet many inboxes show next to the subject. Click Save Draft at any time to save your work.
4. Edit the content
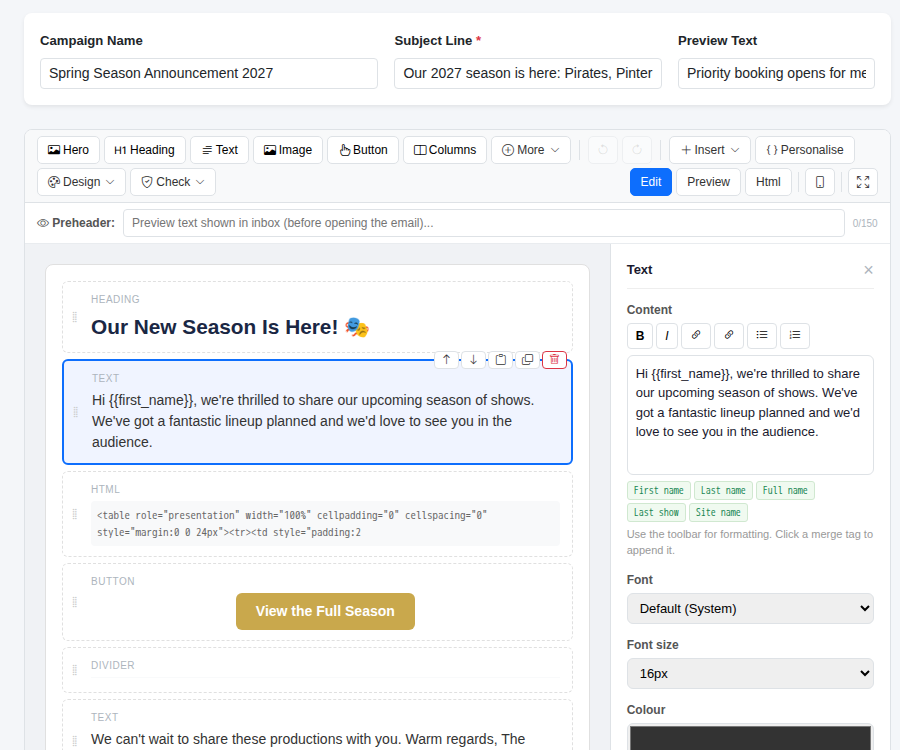
Click any block in the email to edit it. A panel opens on the right where you can change the text, add links and lists, and adjust the font, size and colour. Merge tags such as First name and Site name personalise the email for each person.
Use the toolbar to add new blocks such as Hero, Heading, Text, Image, Button and Columns. The small arrows on a selected block move it up or down, and the bin removes it.
5. Preview your email
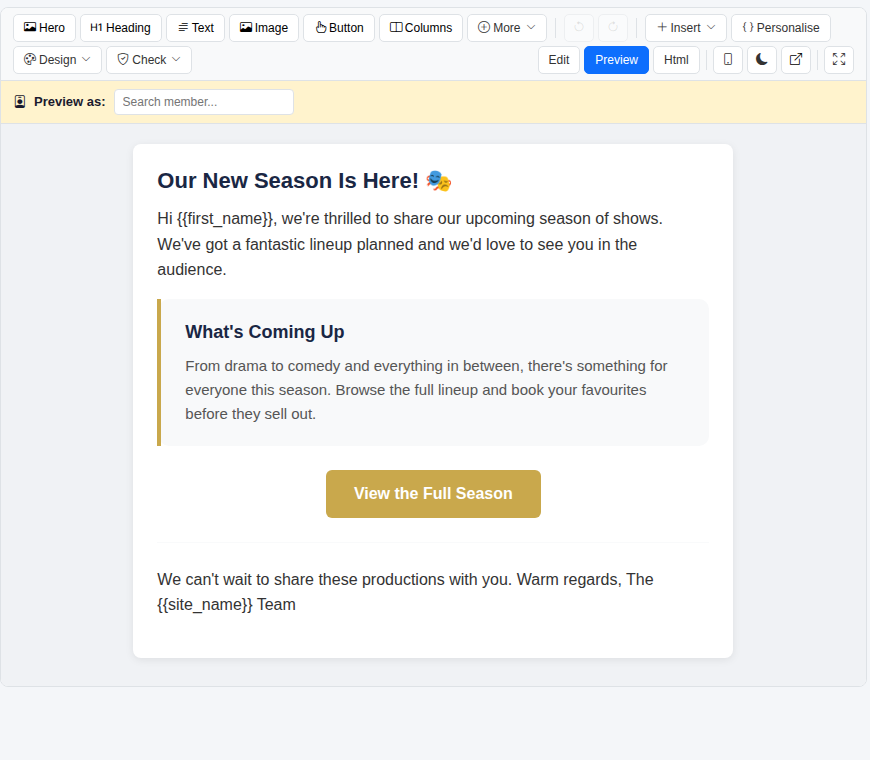
Click Preview in the editor toolbar to see the email as recipients will see it. Click Edit to go back and make changes.
6. Choose your recipients
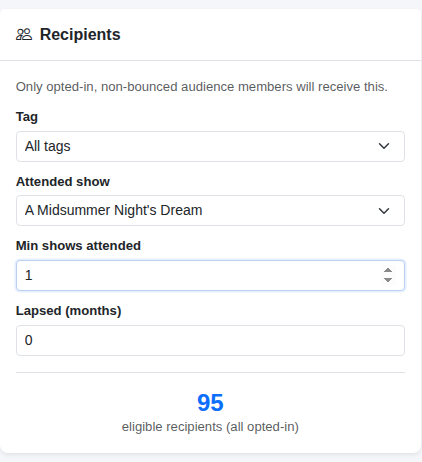
The Recipients panel lets you narrow down who gets the email. You can choose a Tag, people who attended a particular show, a minimum number of shows attended, or people who haven't been for a number of months (Lapsed (months)).
The number at the bottom shows how many opted-in audience members you have in total. Your filters are applied when you send, and the campaign will only go to people who match them.
7. Send a test, then send
Before sending to everyone, enter your own address under Test Email and click Send Test to check how it looks in your inbox.
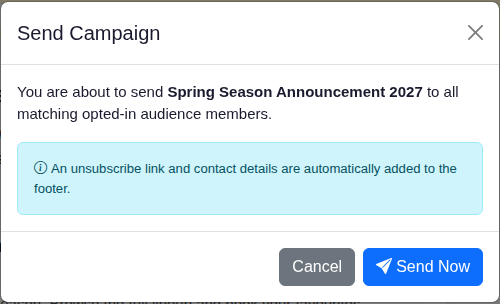
When you're happy, click Send Campaign. A confirmation box shows the campaign name and reminds you that an unsubscribe link and your contact details are added to the footer automatically. Click Send Now to send it, or Cancel to go back.
8. Track your campaigns
Back on the Campaigns page, each campaign shows its status, number of recipients, open rate and click rate. Drafts stay here until you're ready to send them.
Tip: set your recipient filters just before you send, as they aren't kept when you save a draft.