Creating a seating plan for your venue
Build a seating plan for your venue with the row generator, price bands, aisles and accessible seats, then attach it to a show.
A seating plan lets your audience pick their own seats when they book. You build it once for each venue layout, then attach it to any show. This guide walks you through creating a plan from scratch.
1. Open Seating Plans
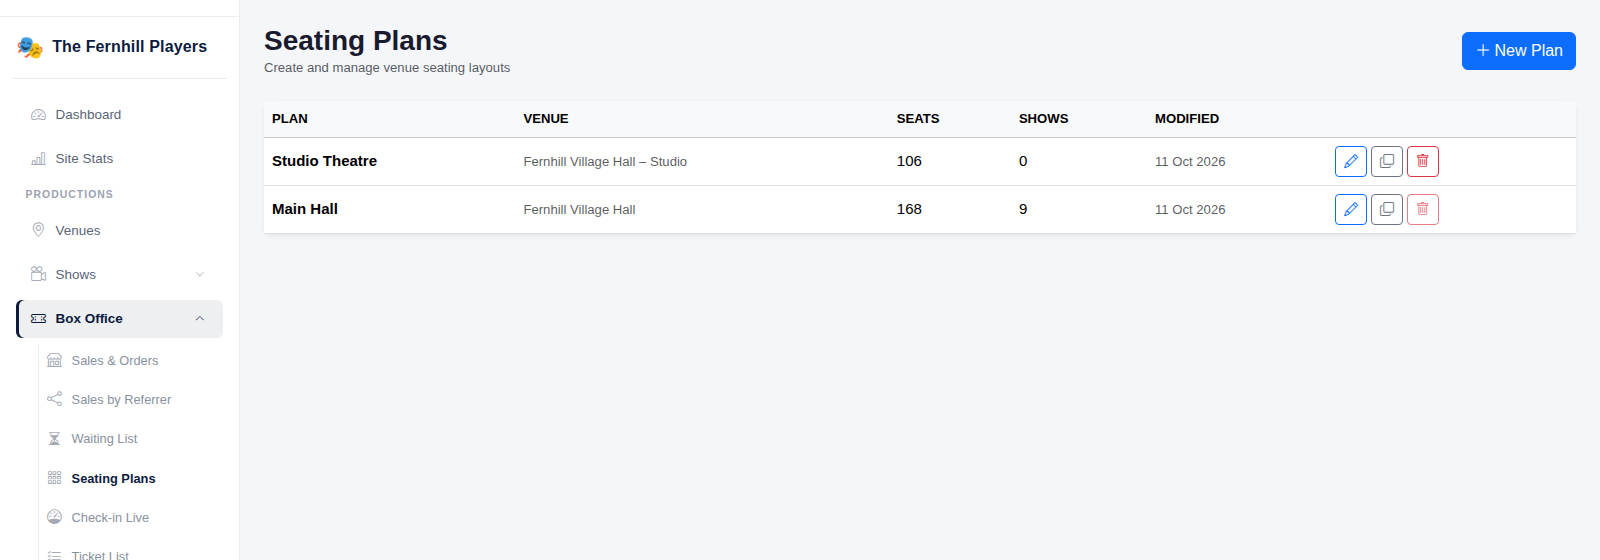
In the admin menu, go to Box Office > Seating Plans. You'll see every plan you've created, with its venue, number of seats and how many shows use it. Click New Plan to start a new one.
2. Name the plan and set up the stage
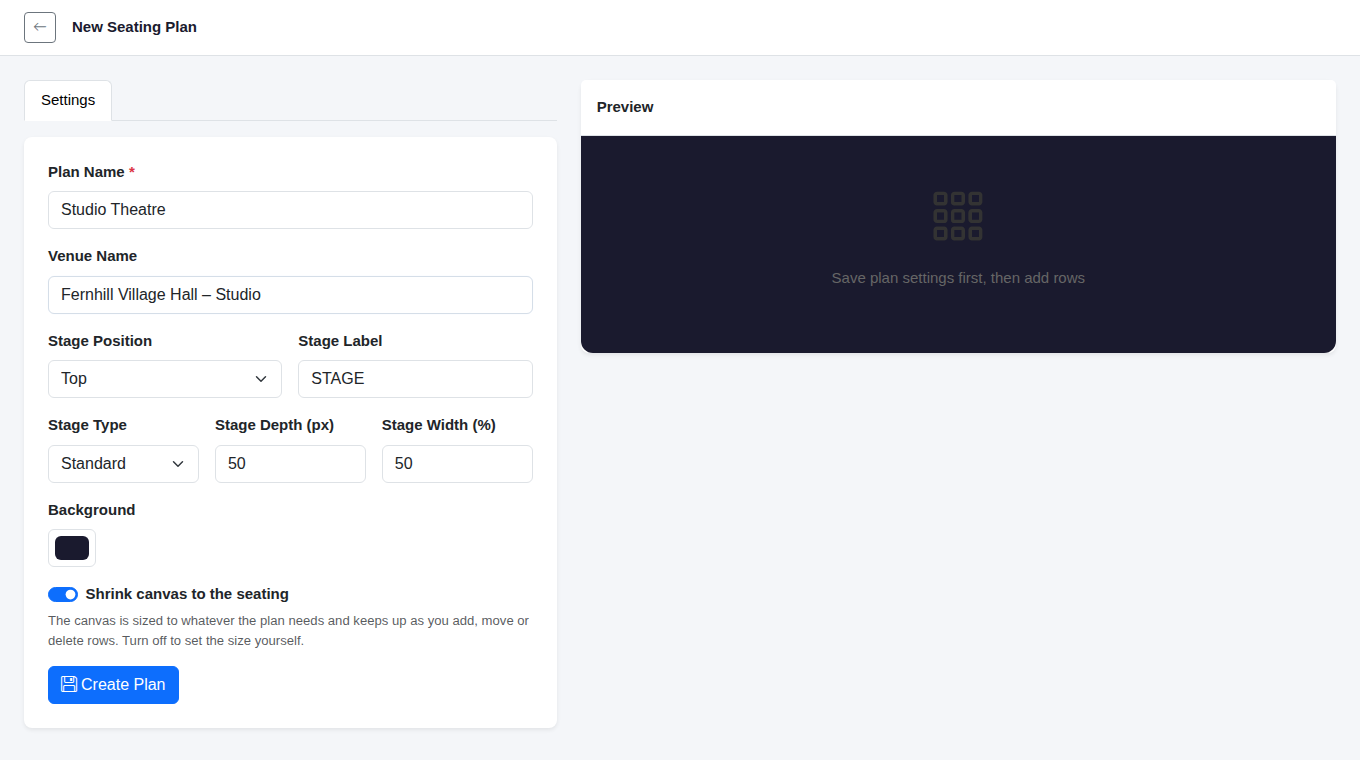
Give the plan a Plan Name (for example, "Studio Theatre") and, if you like, a Venue Name. Then choose where the stage sits on the plan with Stage Position (Bottom, Top, Left or Right) and what it says with Stage Label.
You can also pick a Stage Type, set the stage's depth and width, and choose a background colour. Leave Shrink canvas to the seating switched on and the plan will resize itself as you add rows. Click Create Plan when you're done.
3. Add your price bands
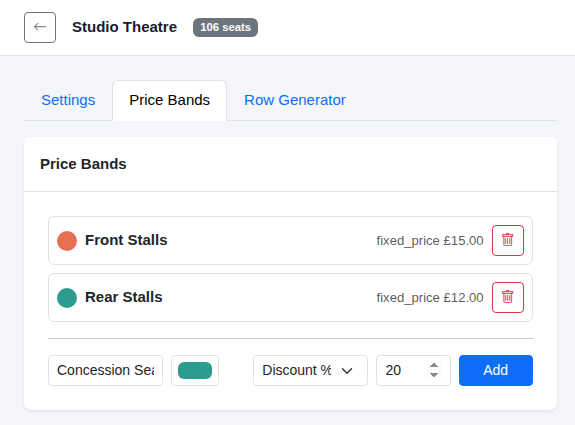
Once the plan is saved, two more tabs appear: Price Bands and Row Generator. Open Price Bands to set up the different seat prices in your venue, such as front and rear stalls.
For each band, enter a name, pick a colour, choose how it's priced (Fixed Price, Surcharge, a fixed discount or a percentage discount) and enter the amount. Click Add. Each band shows on the plan in its own colour.
4. Generate your rows
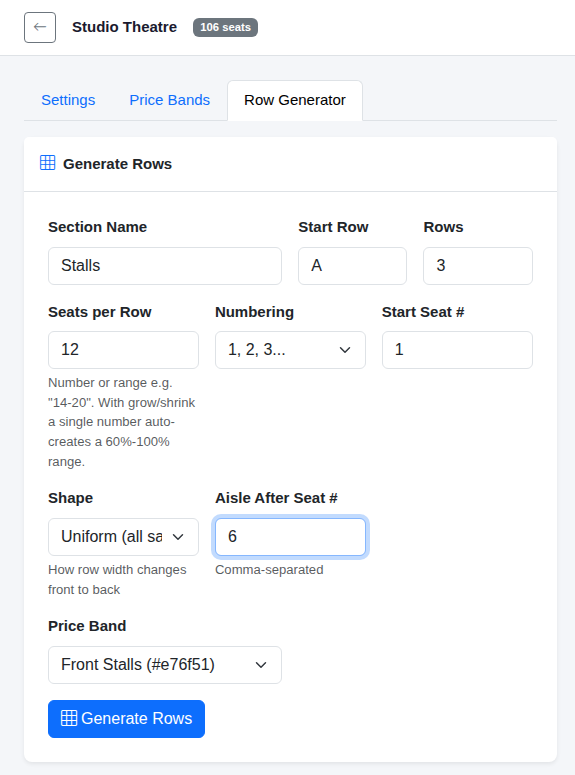
Open the Row Generator tab. Enter a Section Name (such as "Stalls"), the letter of the first row in Start Row, and how many Rows to create. Then set Seats per Row and how the seats are numbered.
To leave a gap for an aisle, type the seat number it comes after in Aisle After Seat # (you can enter more than one, separated by commas). The Shape option lets rows get wider or narrower towards the back. Finally, choose a Price Band and click Generate Rows.
Price bands are applied as you generate rows, so it's easiest to build your plan in batches. For example, generate rows A to C with your front band, then go back and generate rows D to H in the same section with your rear band.
5. Check the preview
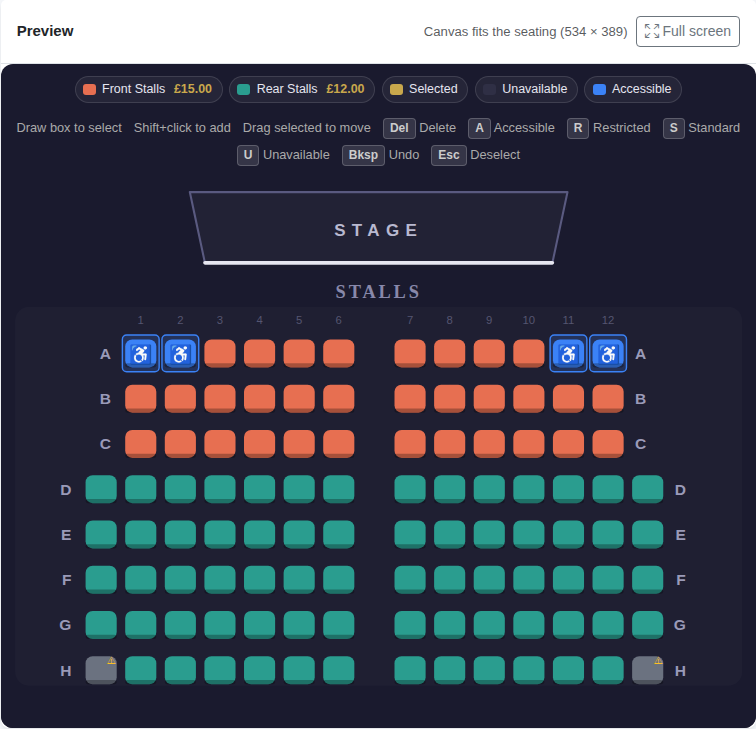
The Preview on the right shows your plan as it builds up, with a colour key for your price bands. Under the key there's a reminder of the shortcuts you can use to edit seats.
6. Mark accessible and restricted-view seats
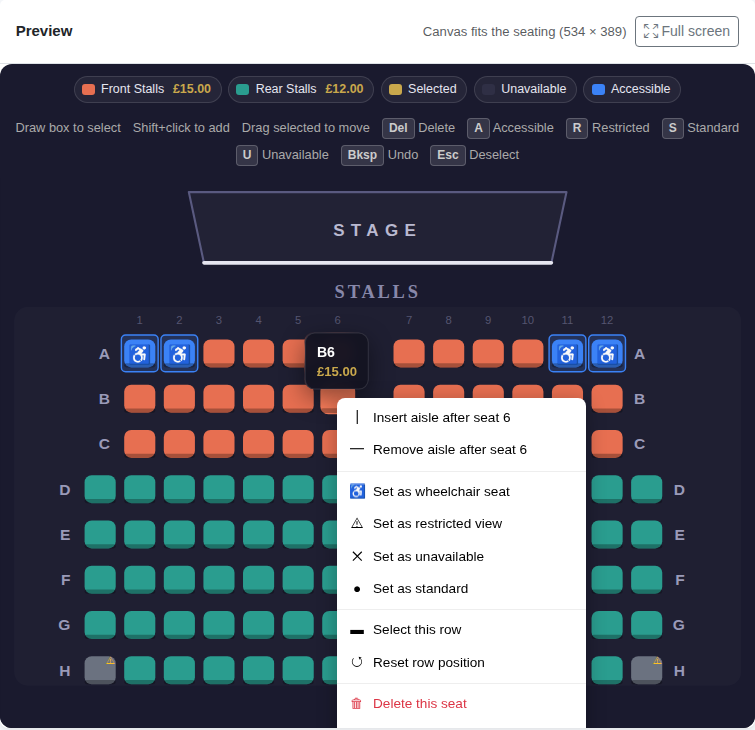
Right-click any seat to open its menu. From here you can insert or remove an aisle after that seat, set it as a wheelchair seat, a restricted-view seat, unavailable or standard, and delete the seat or the whole row.
To change several seats at once, draw a box around them (or Shift+click to add seats one at a time), then press A for accessible, R for restricted, U for unavailable or S for standard. You can also drag selected seats to move them.
7. Attach the plan to a show
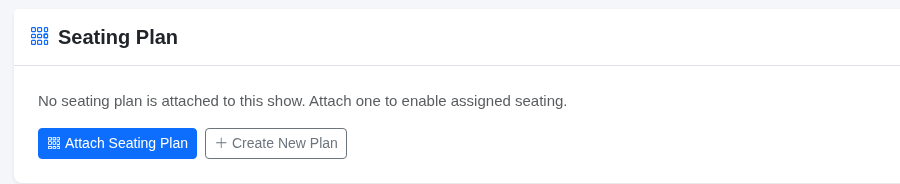
When the plan is ready, open the show's box office setup. In the Seating Plan section, click Attach Seating Plan.
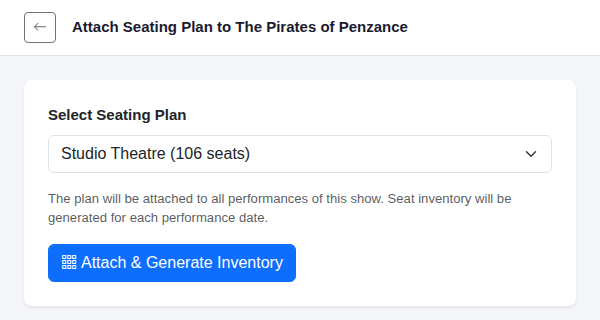
Choose your plan from Select Seating Plan and click Attach & Generate Inventory. The plan is attached to every performance of the show, and seats are created for each performance date.
Tips: use the Clone button on the Seating Plans list to copy a plan if you use the same venue in different layouts. A plan can't be deleted while it's attached to a show, so detach it in the show's box office setup first.