Creating your own pages and editing your website menu
Add your own pages to your website — directions, history, how to join — and put them in your menu.
Alongside the pages TheatreHQ builds for you — shows, cast, gallery, contact — you can add your own: how to find the venue, the society's history, how to join, a page for patrons. This guide shows how to create a page and add it to your website's menu.
1. Create a page
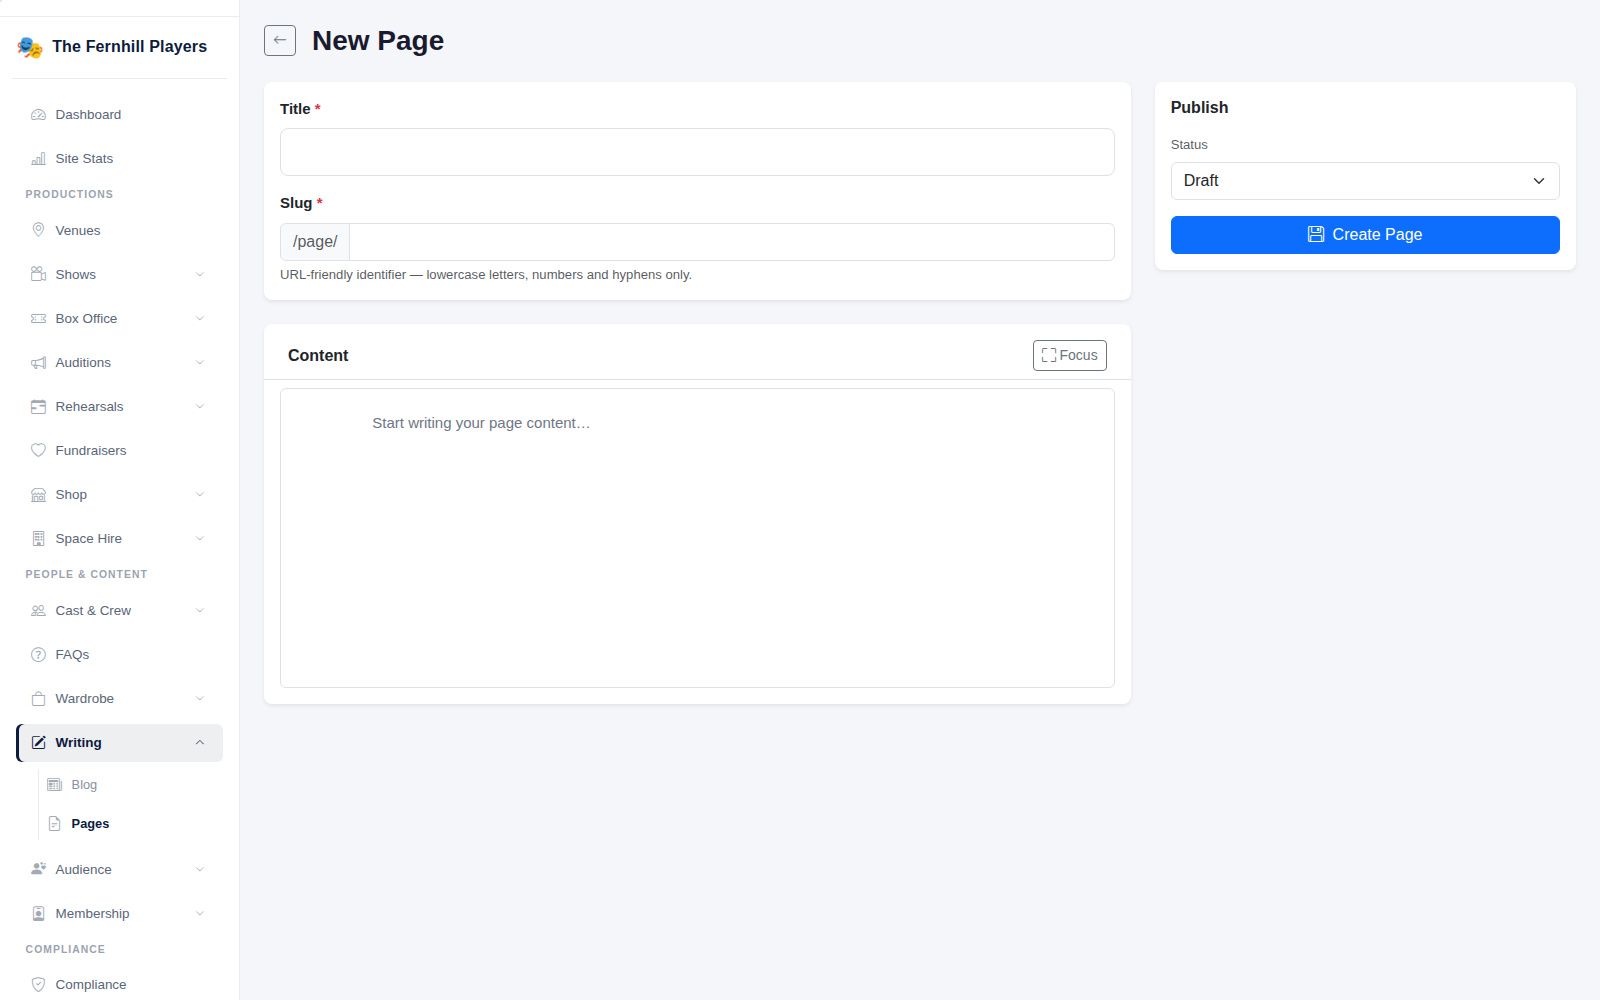
Go to Writing > Pages and click New Page. Give it a Title; the Slug — the end of its web address — fills in for you and can be changed. Write the page in the Content editor, adding headings, images and links. Focus hides everything else so you can write without distraction.
Set the Status to Published when it's ready (leave it as Draft to keep working on it) and click Create Page.
2. Find and edit your pages
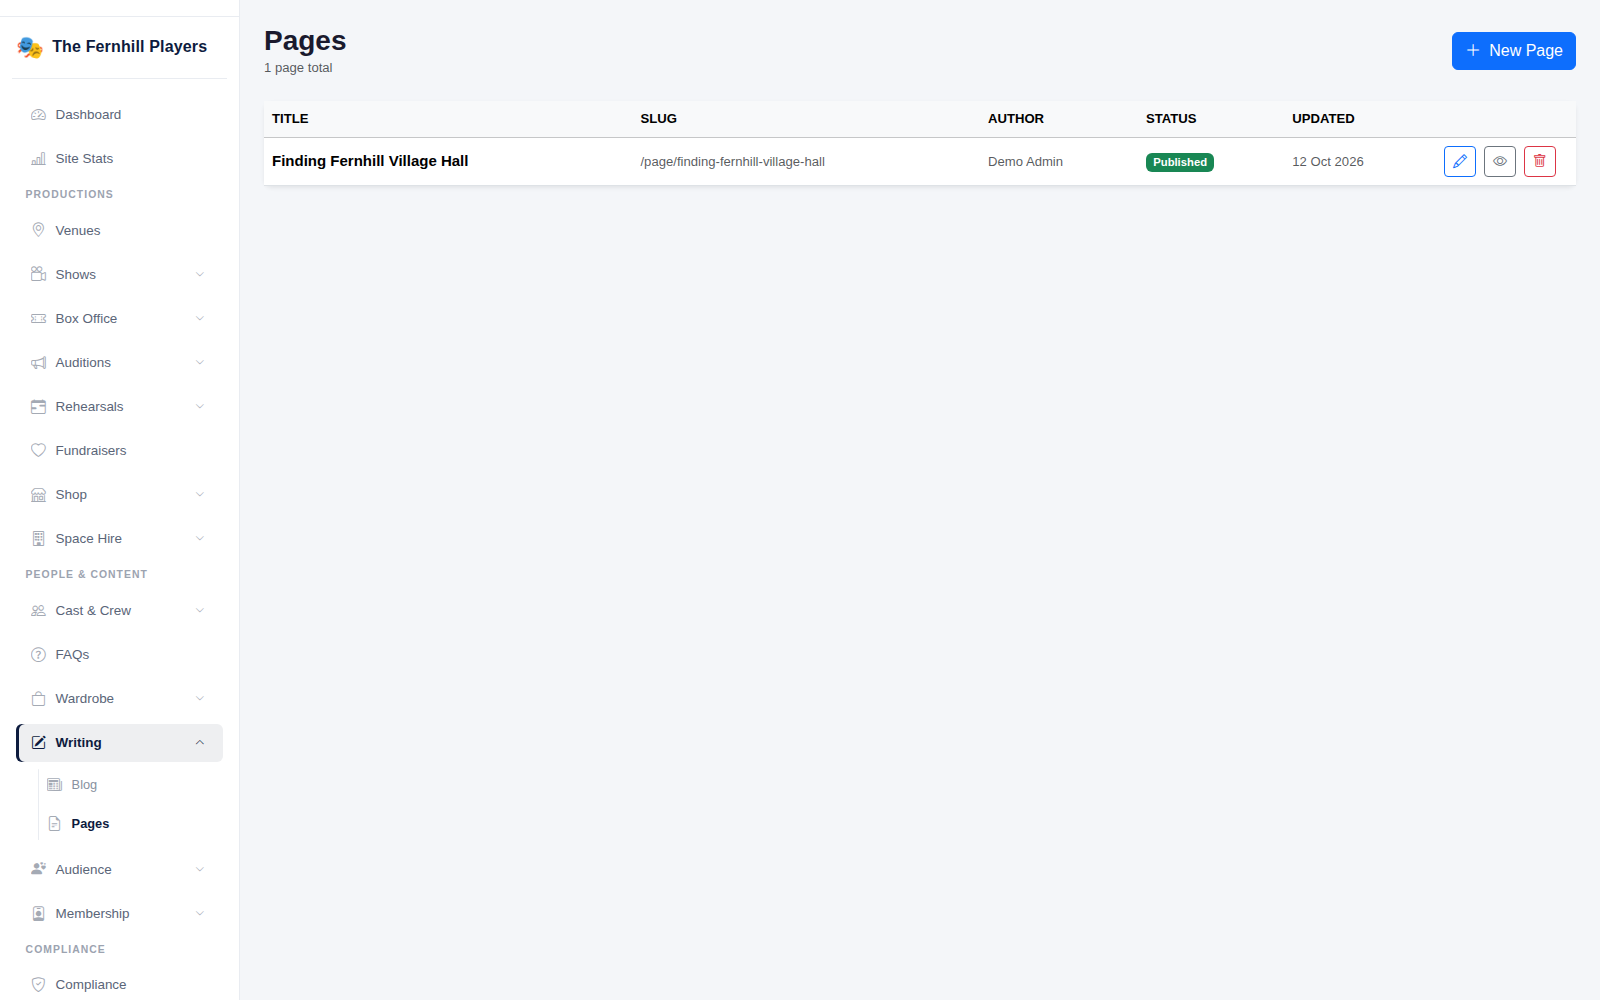
Writing > Pages lists every page with its address, author, status and when it was last updated. Your page lives at /page/ followed by its slug.
3. Add it to your menu
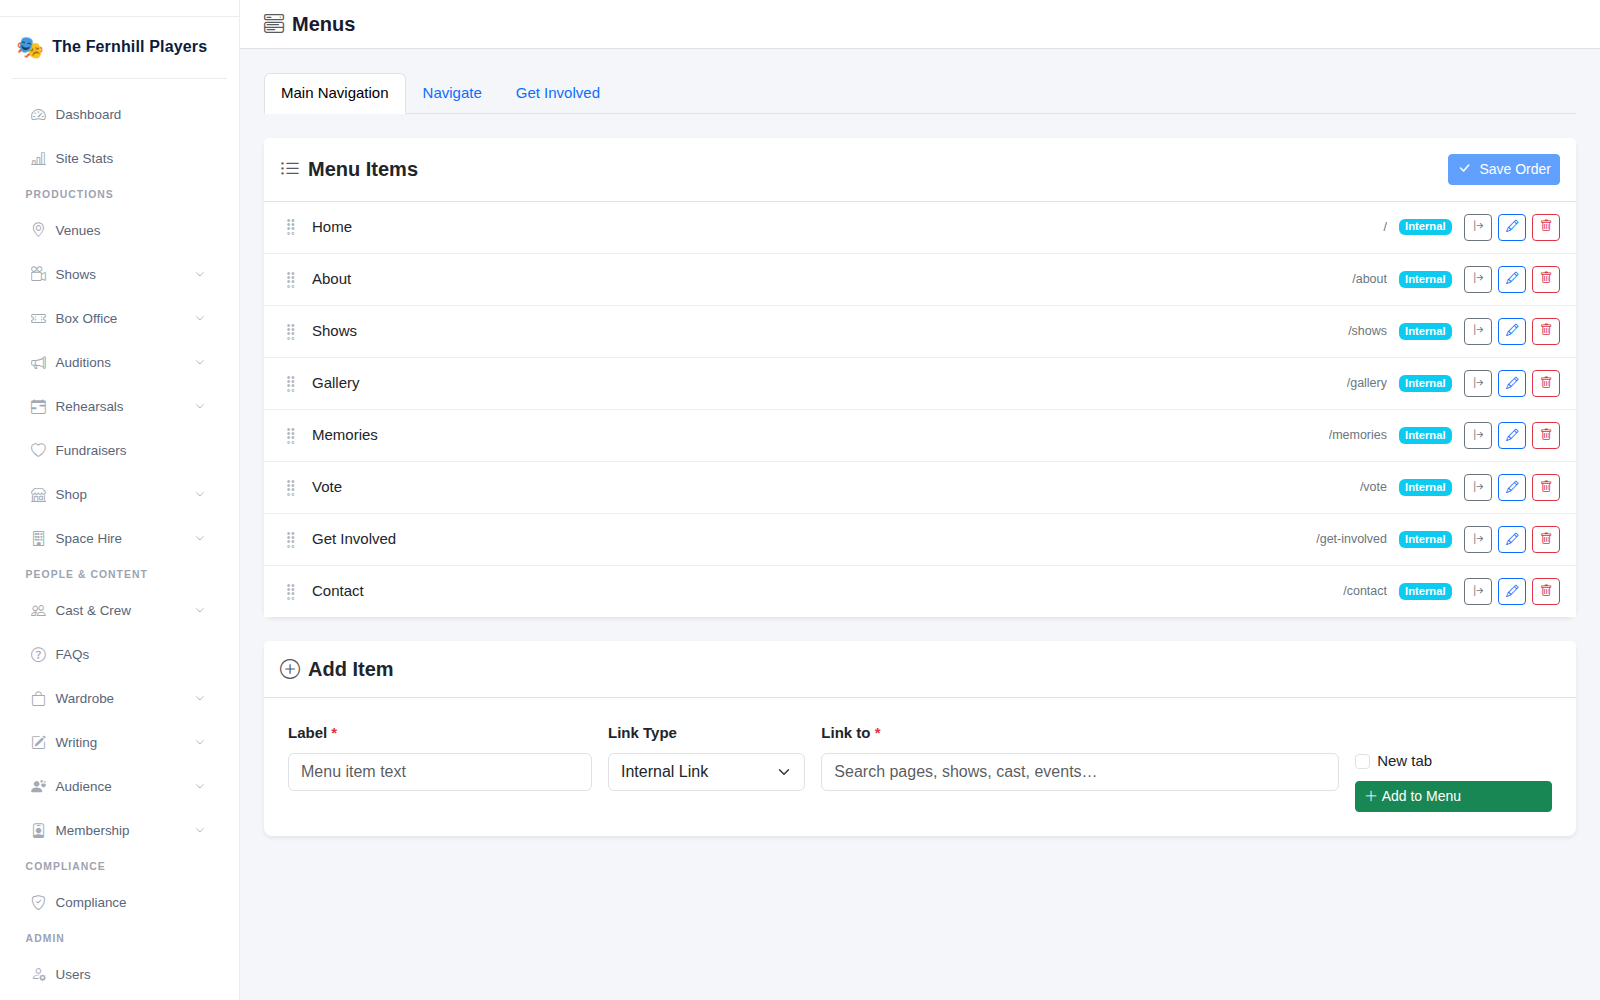
A new page isn't added to your website's navigation automatically. Go to Settings > Menus. The Main Navigation tab lists your current menu items; drag them to reorder, and click Save Order. To add your page, use Add Item: enter the Label people will see, choose Internal Link, search for your page under Link to, and click Add to Menu. The other tabs control the smaller menus, such as the footer's.
4. See it on your site
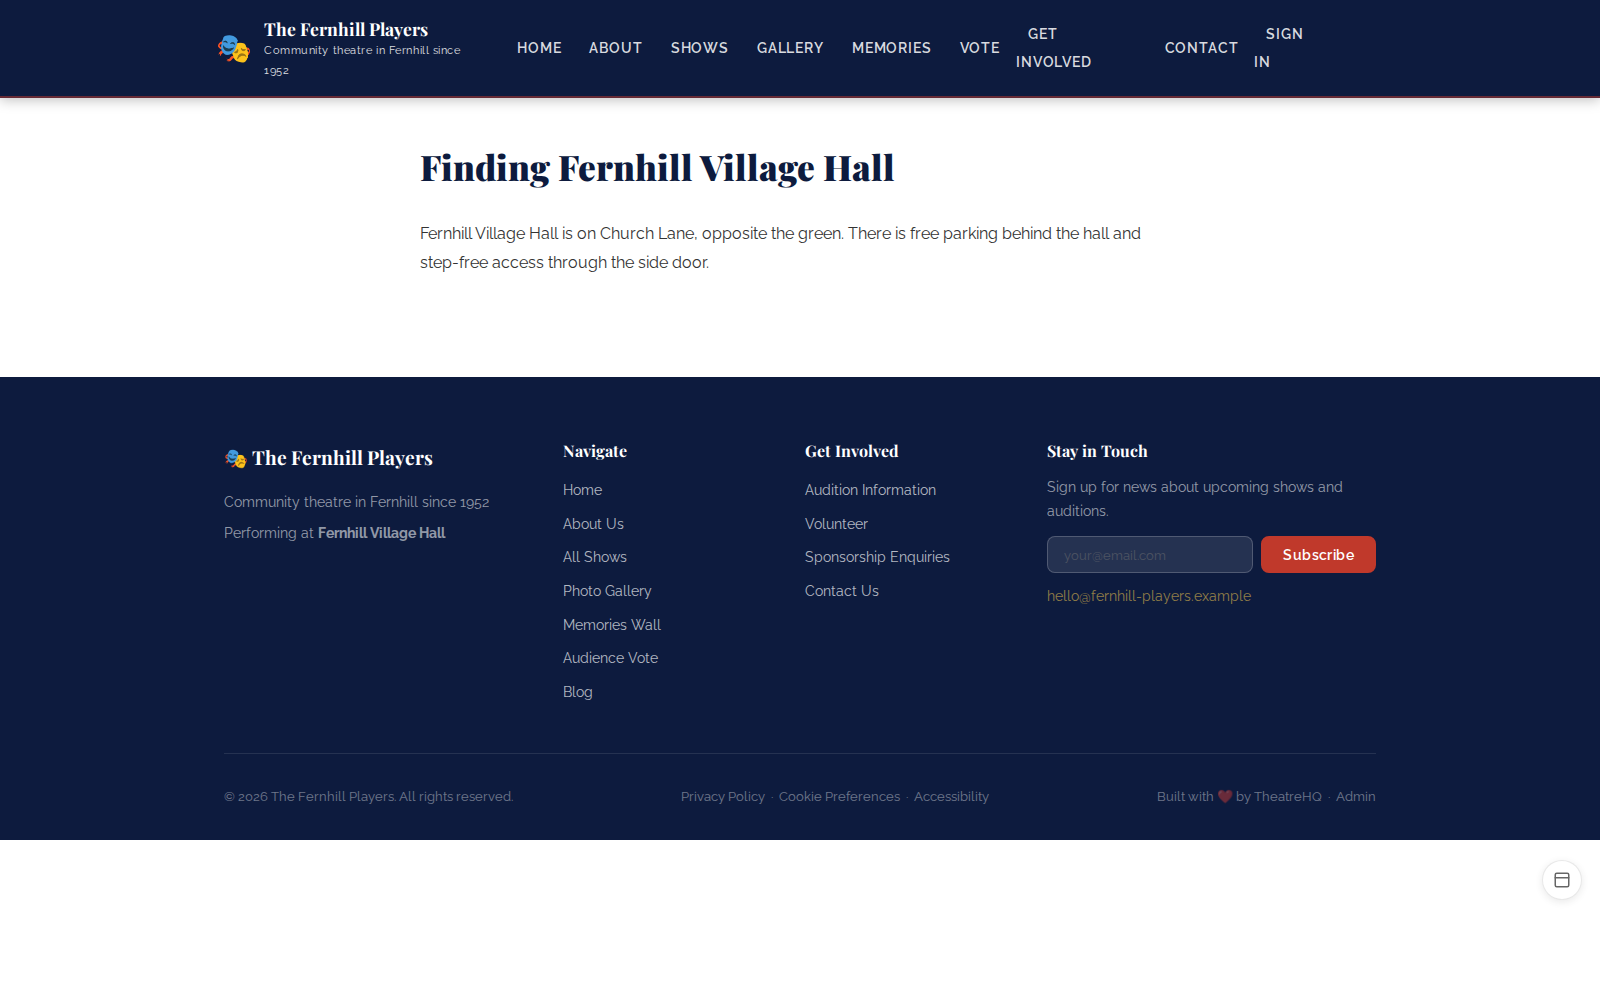
Tip: keep the main menu short — six or seven items at most. Less important pages can go in the footer menu instead.