Front-end editing
Once you are logged in, TheatreHQ adds edit pencils to your public site so you can update content and styling in place. This walkthrough covers the main front-end editing panels, from navigation and hero settings to page sections, footer, and show-page layouts.
Once you are logged in, TheatreHQ adds edit pencils to your public site so you can update content and styling in place. This walkthrough covers the main front-end editing panels, from navigation and hero settings to page sections, footer, and show-page layouts.
1. Open the front-end editor
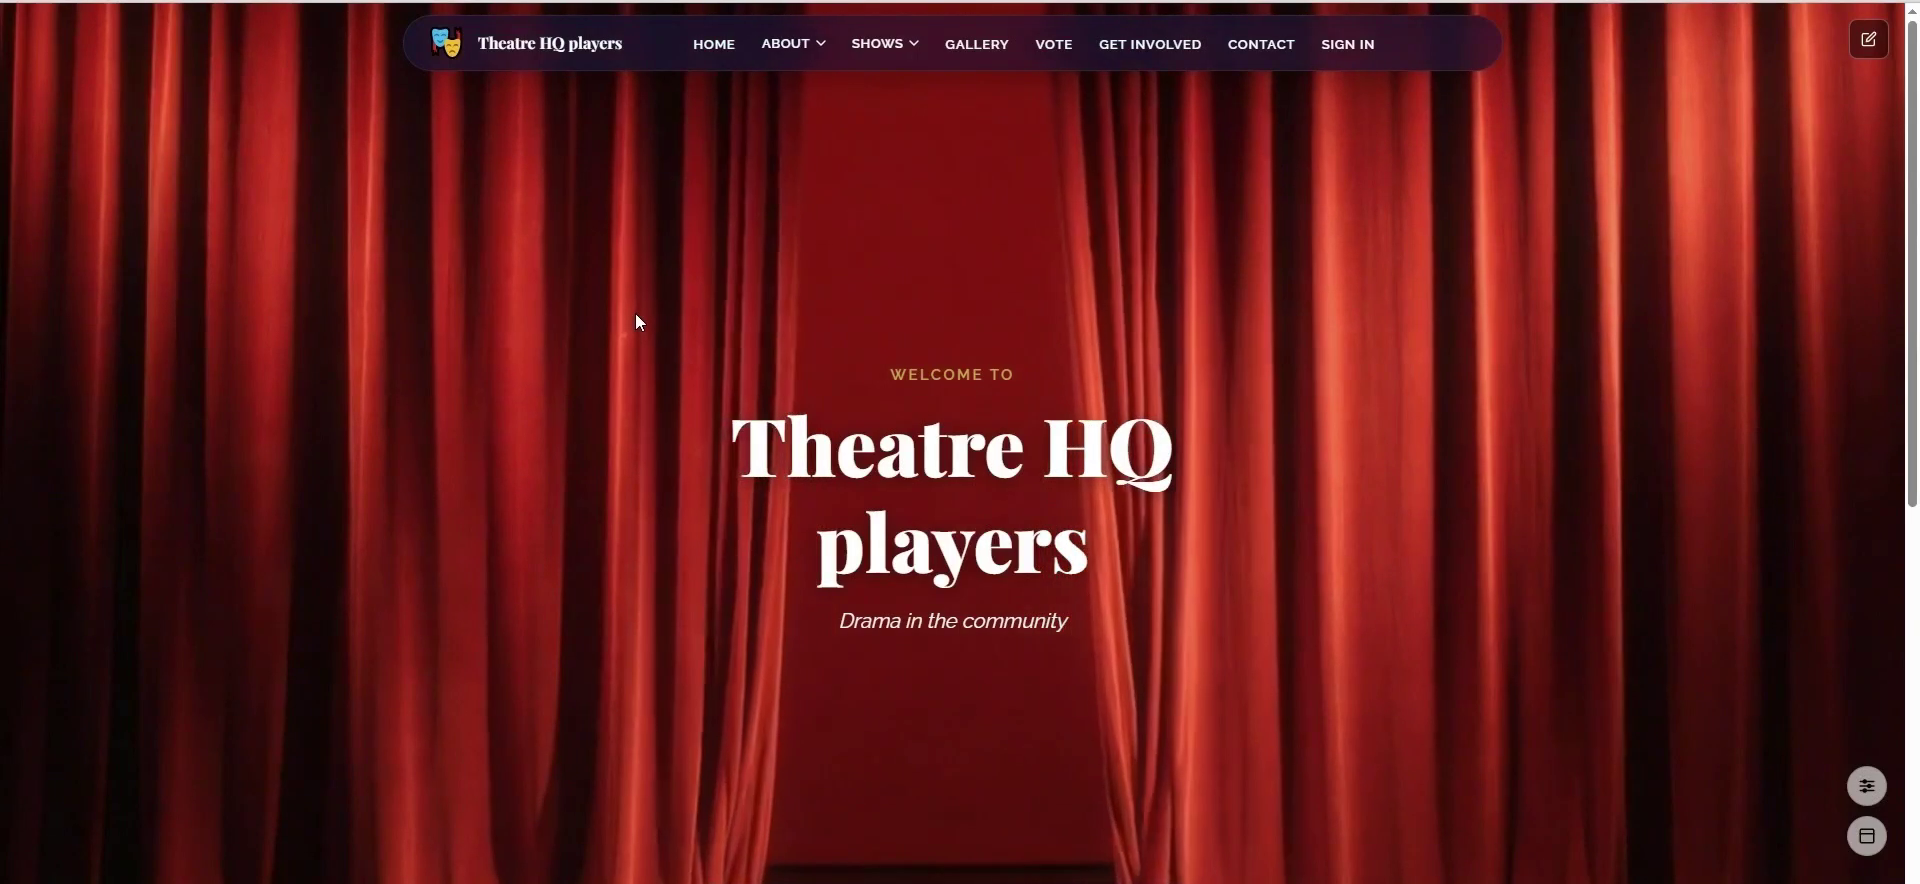
Visit your public site while logged in and look for the pencil edit icons that appear over editable areas. Click a pencil to open its editing panel; the options available depend on the element you selected. The bottom-right icons provide section and whole-site controls as you move through the site.
2. Change the navigation style
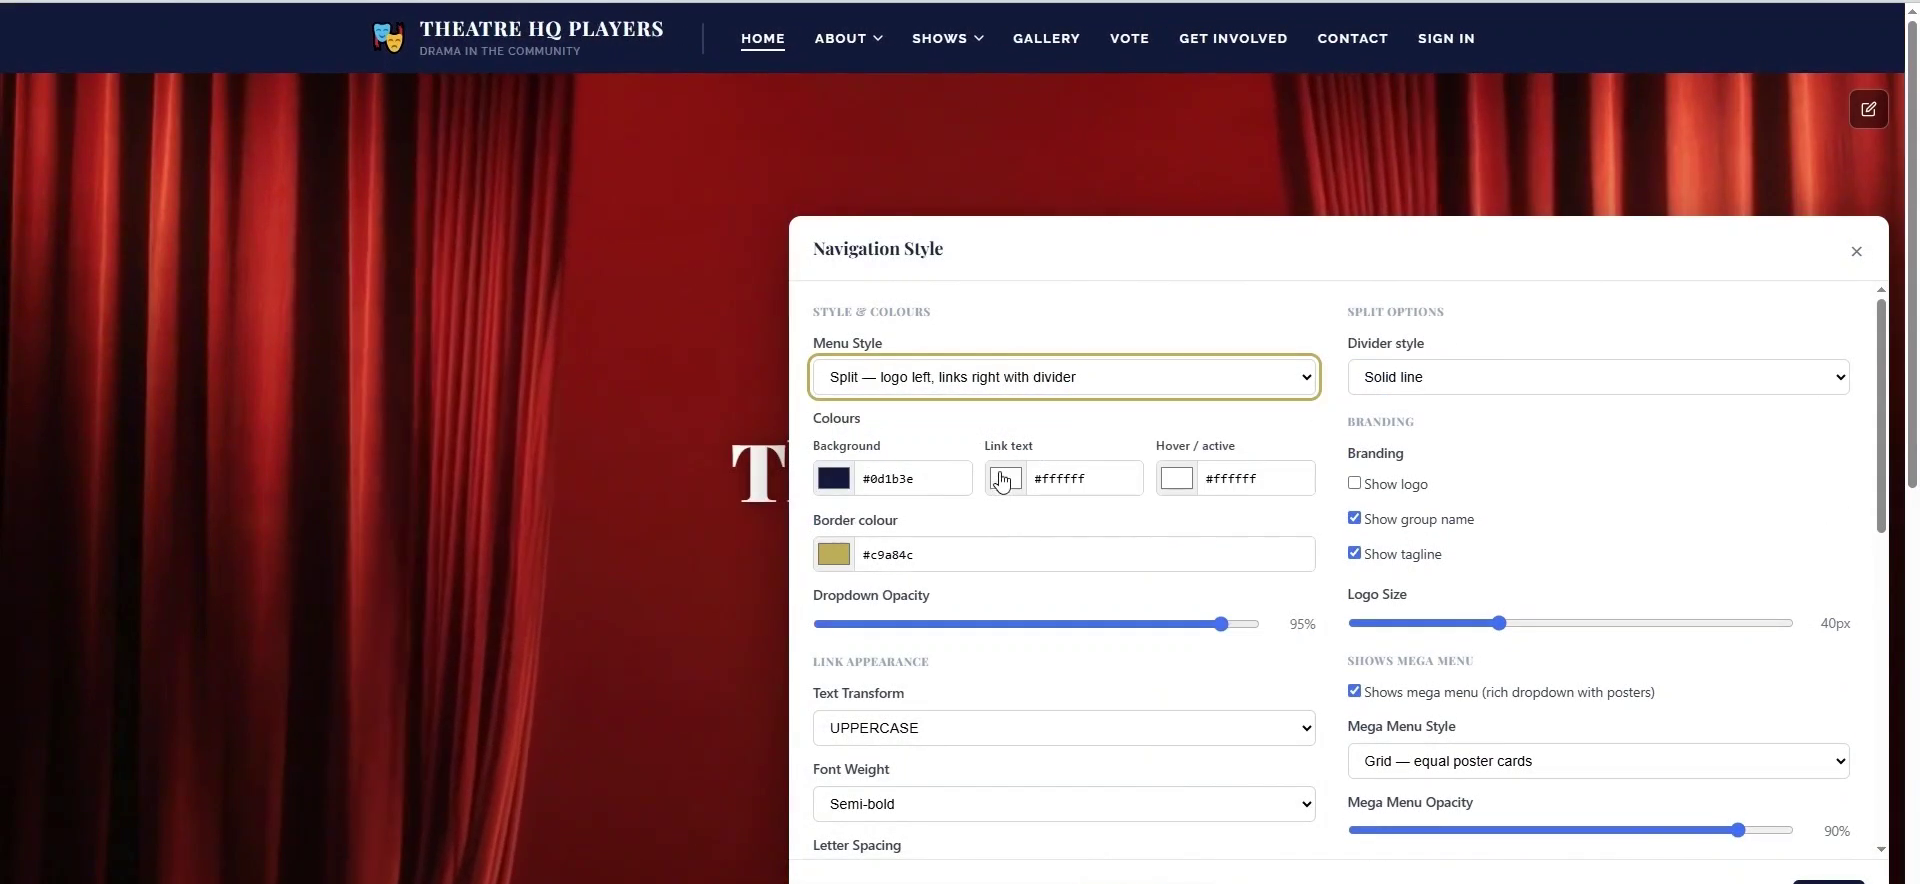
Click the pencil on the main navigation to open Navigation Style. From here you can pick a menu style and adjust colours, link appearance, branding, and mega menu settings. Click Save to apply the new navigation styling across the site.
3. Configure the hero section
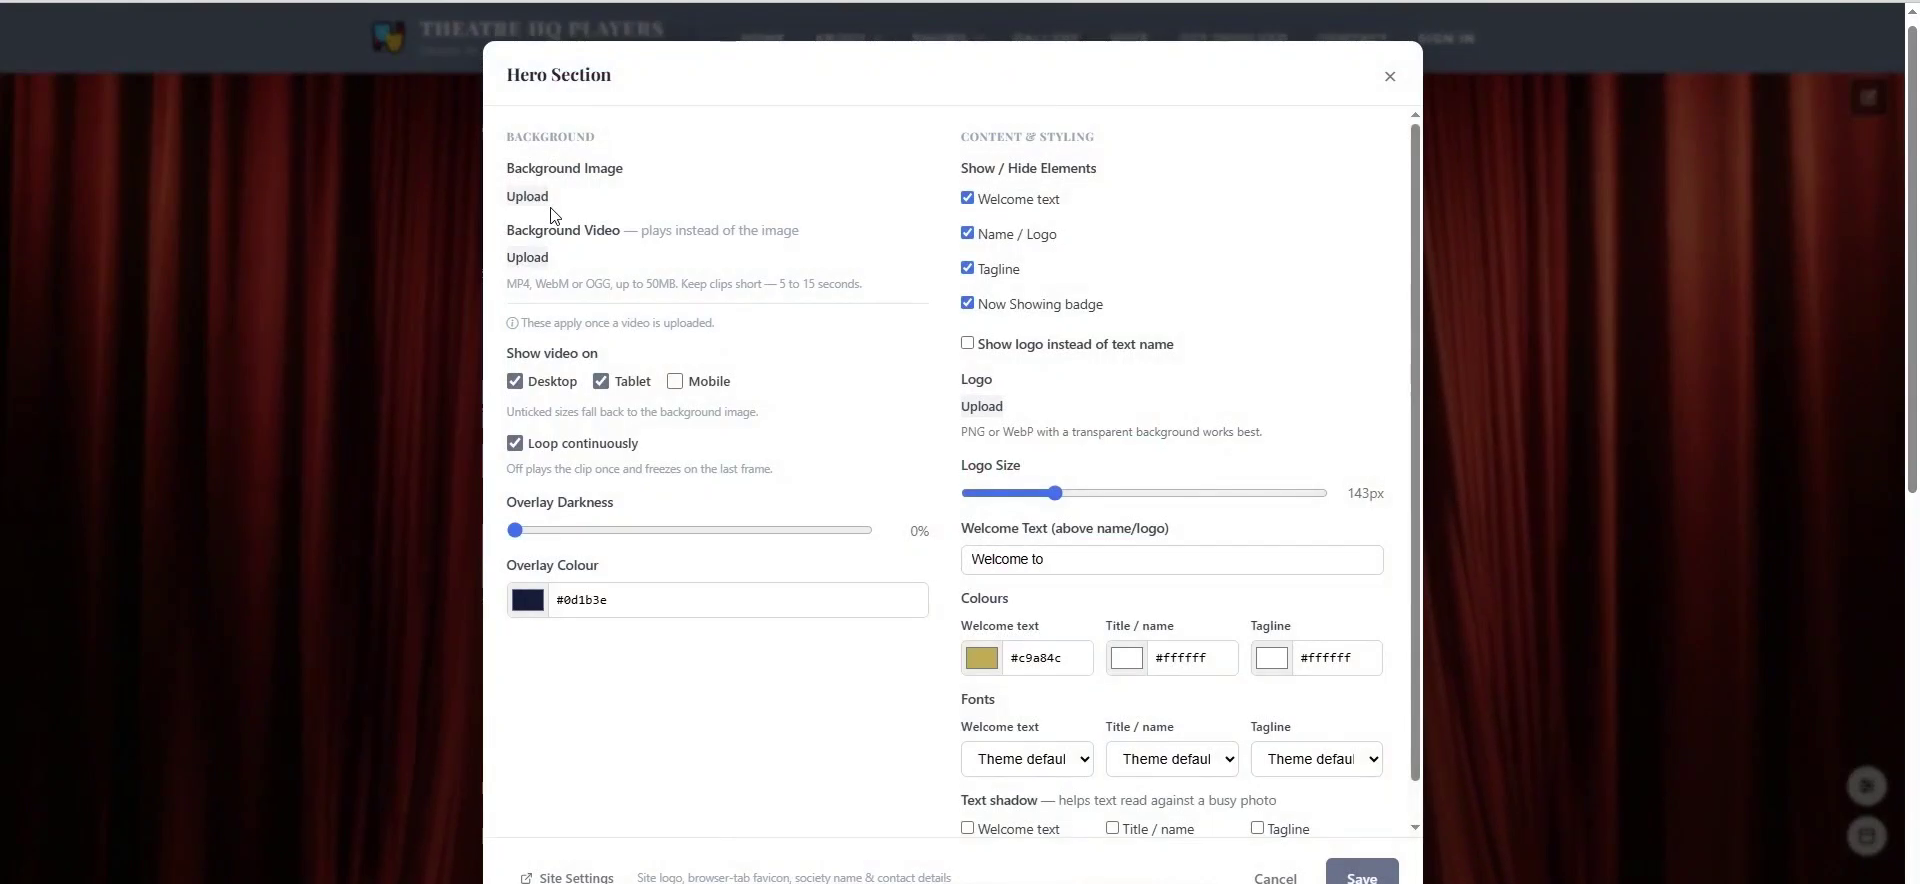
Use the hero section pencil to upload a background image or a background video. If you upload video, you can choose whether it shows on Desktop, Tablet, or Mobile and whether it should loop continuously; unsupported sizes fall back to the background image. You can also edit the welcome text, logo, colours, and fonts, then save.
4. Style a page section
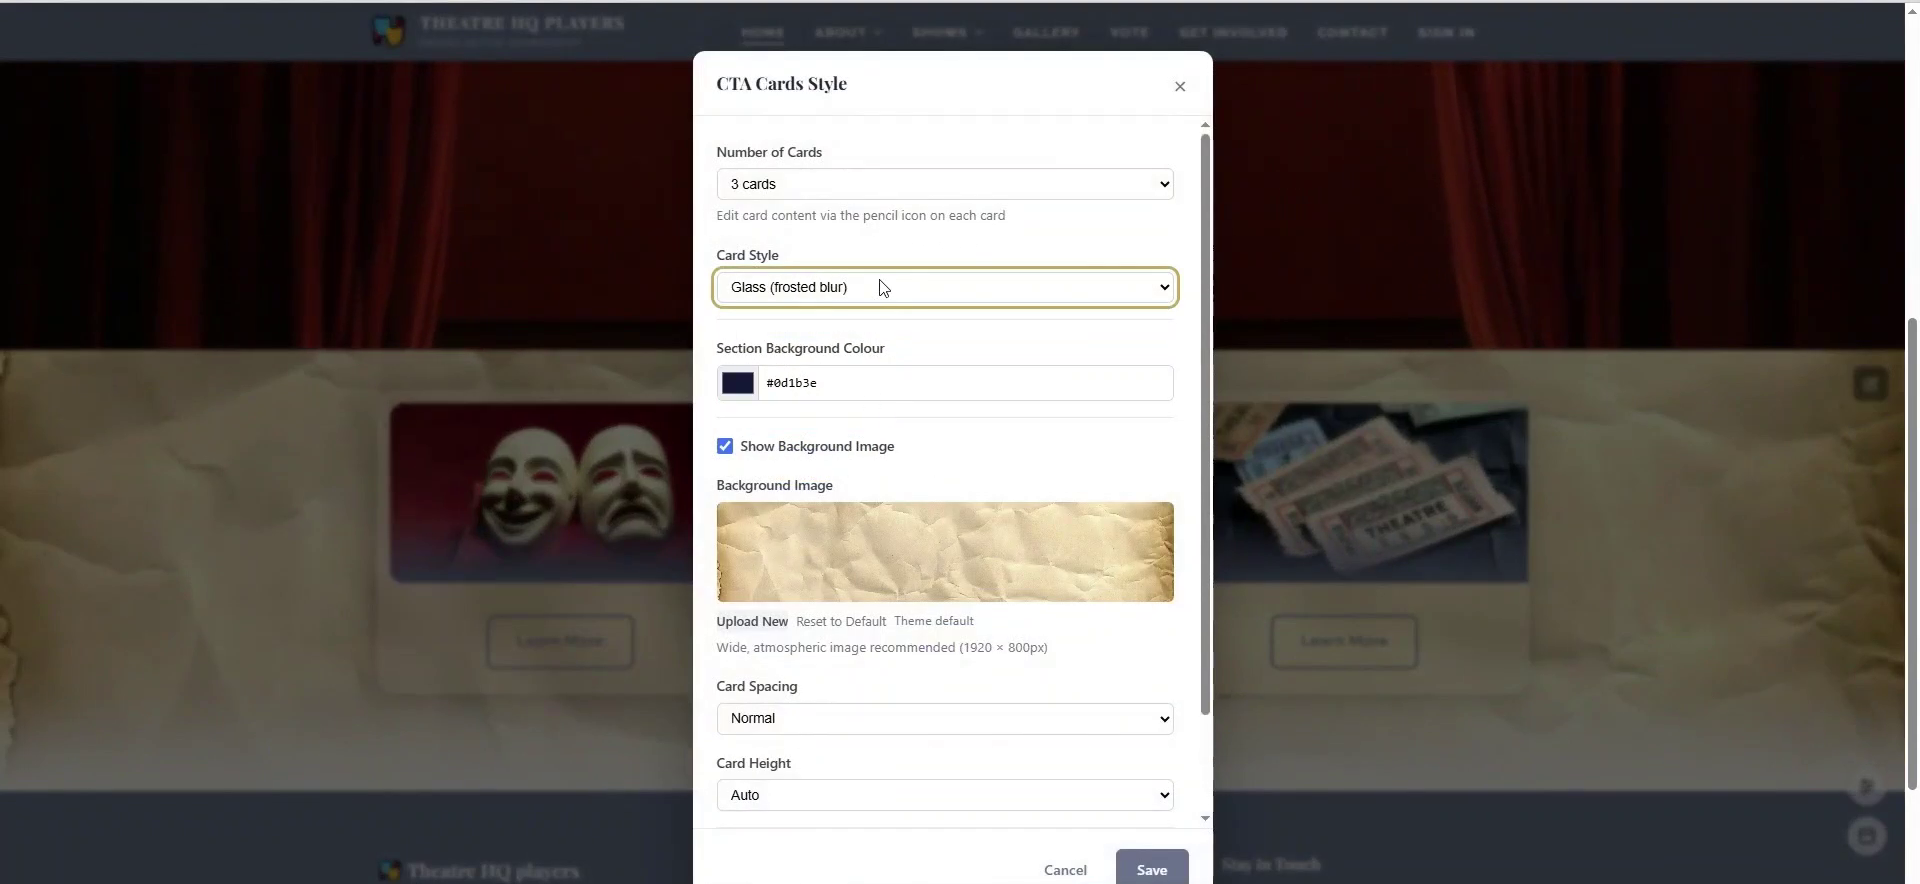
Each editable section has its own pencil and style panel. For example, the CTA Cards Style panel controls the number of cards, card style, section background colour, background image, card spacing, and card height. Use these settings to keep sections visually consistent with your site.
5. Edit content within a section
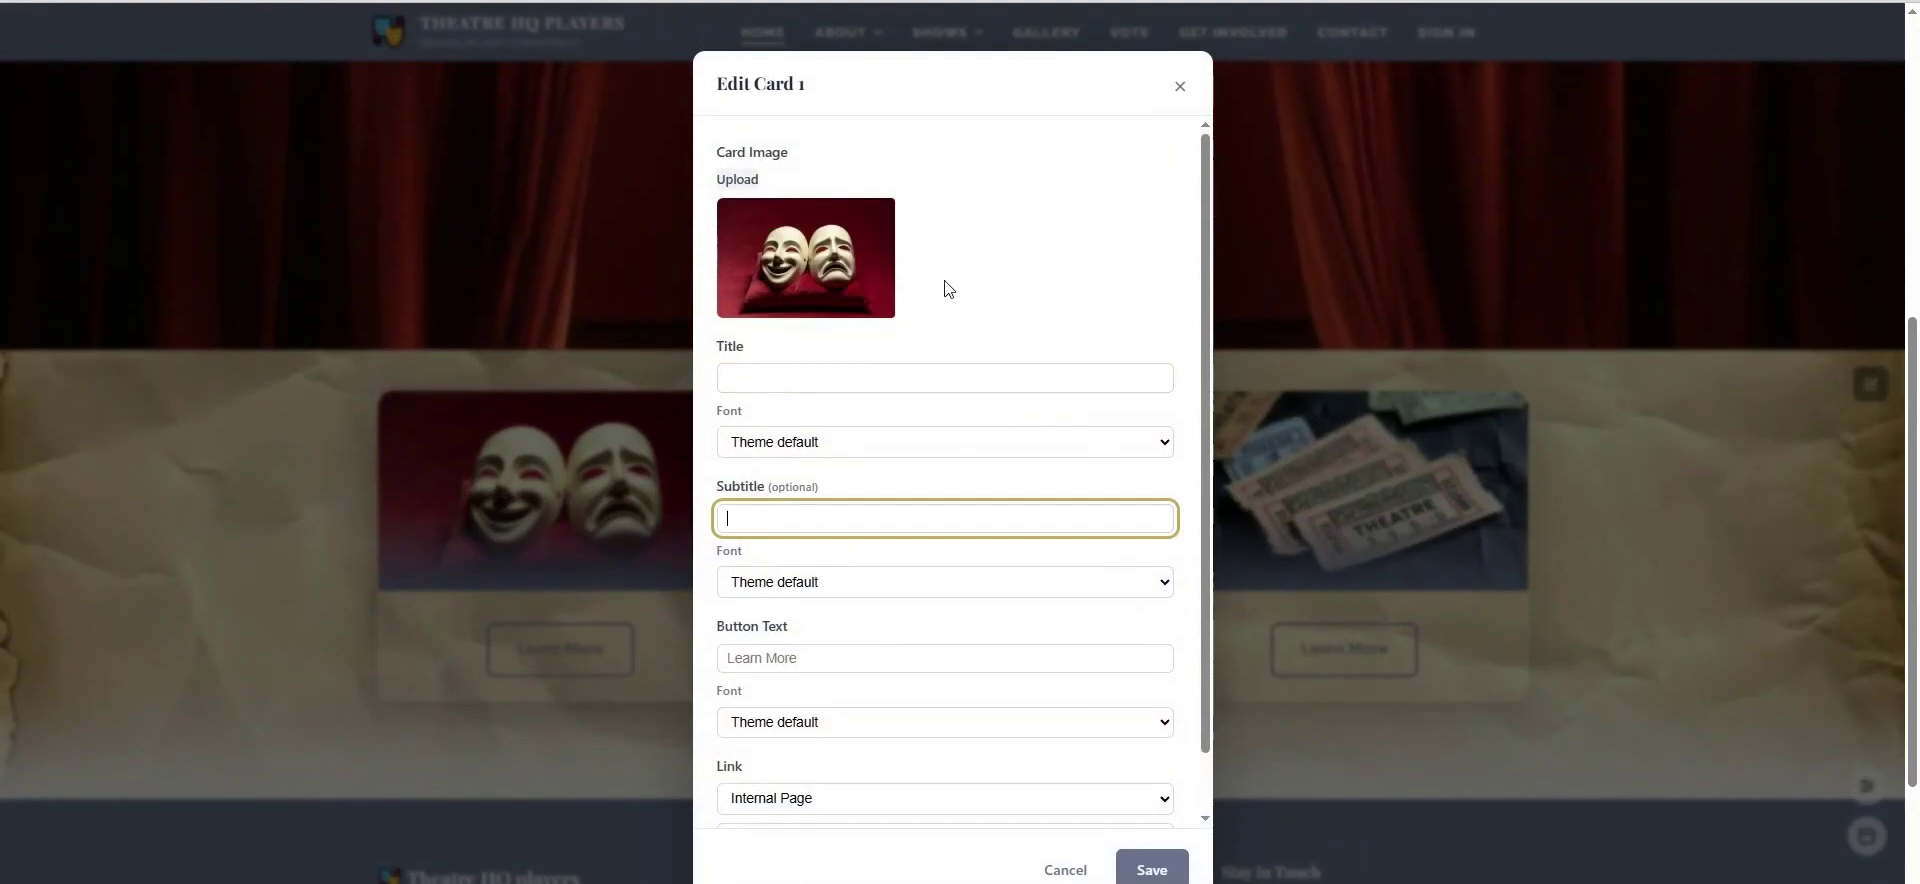
After setting a section’s style, click the pencil on an individual item to change its content. In the card editor, you can upload a card image and set the title, subtitle, button text, and link. Save the item to update it on the page.
6. Reorder or hide homepage sections
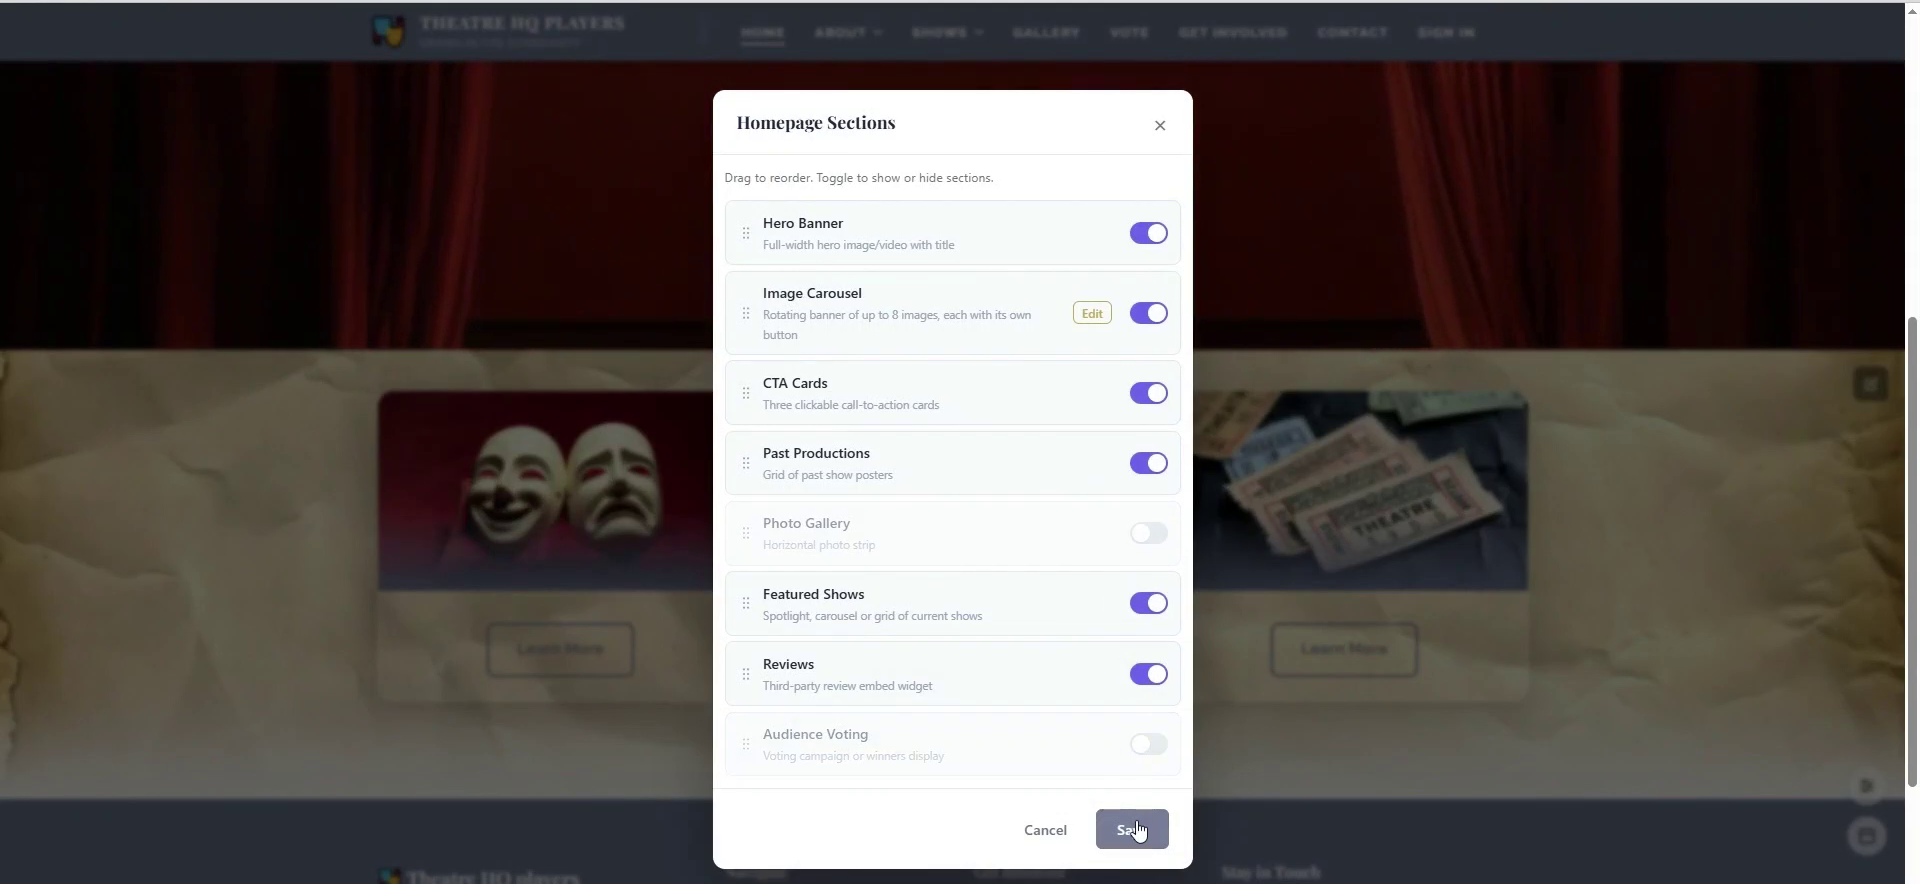
Use the first bottom-right editing icon to open Homepage Sections. Drag the sections to change their order, and use the toggle switches to hide sections you do not want to display on the front page. This is useful for keeping the homepage focused on your most important content.
7. Set whole-site defaults
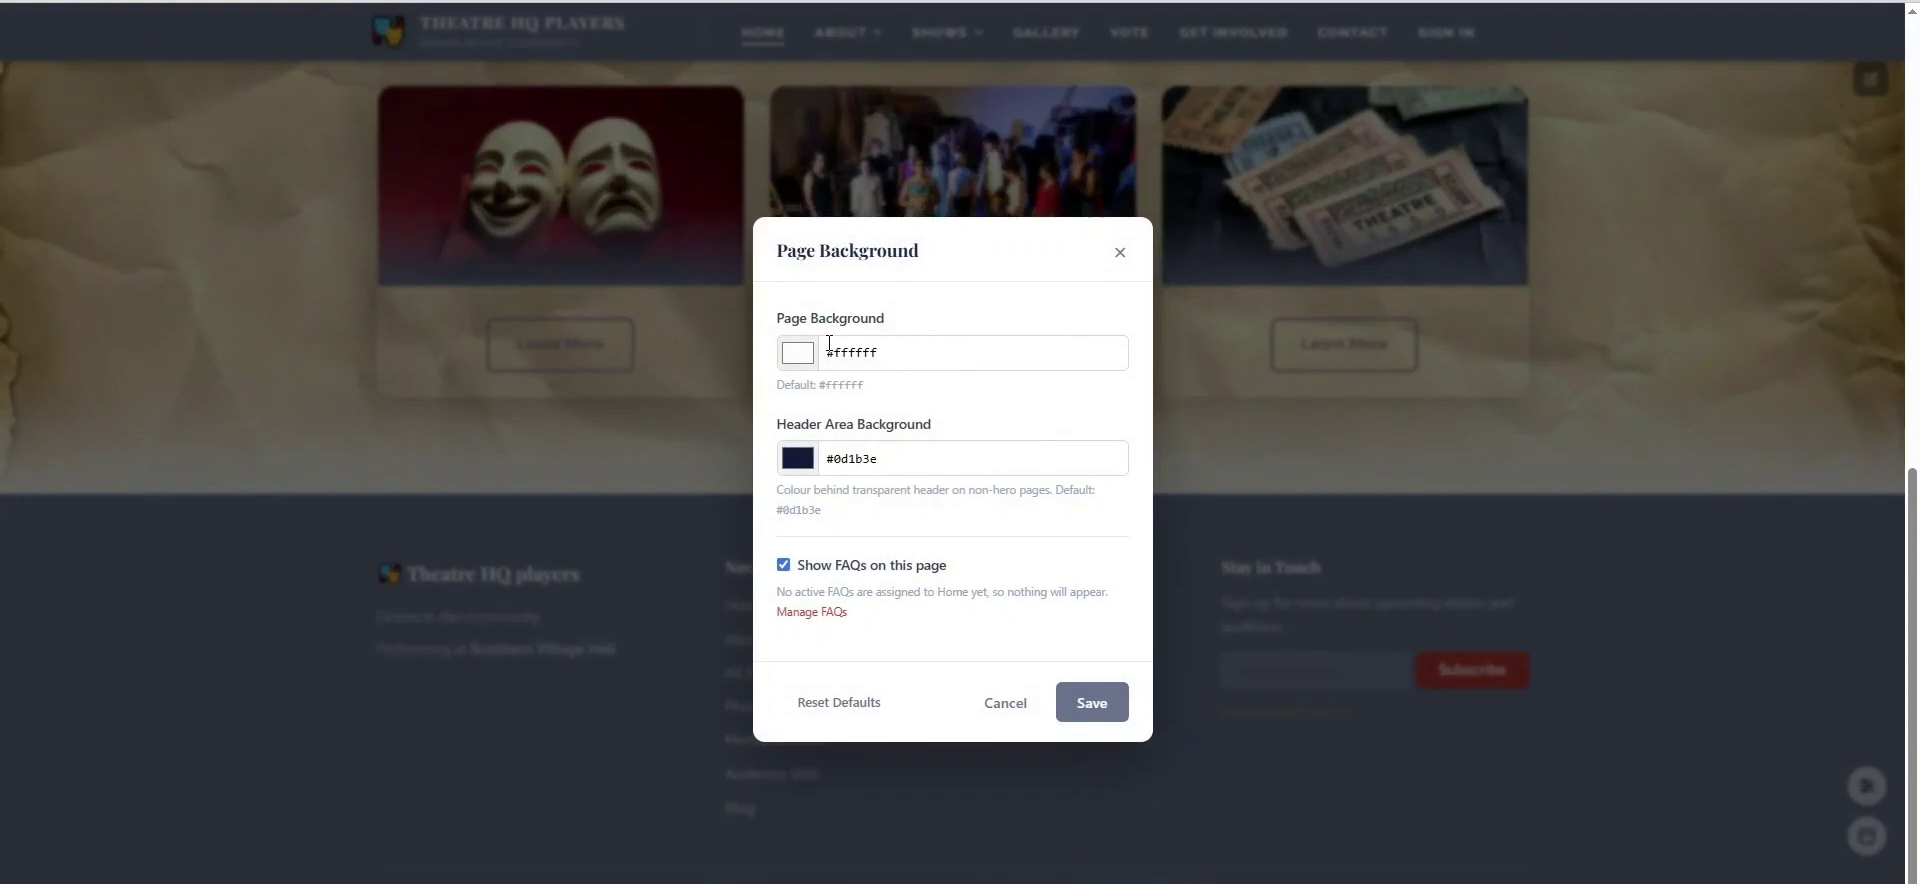
The lower bottom-right editing icon opens whole-site defaults such as Page Background and Header Area Background. You can set a page background colour and a header area background colour, and choose whether FAQs appear on the page. Save when you are done.
8. Edit page header banners
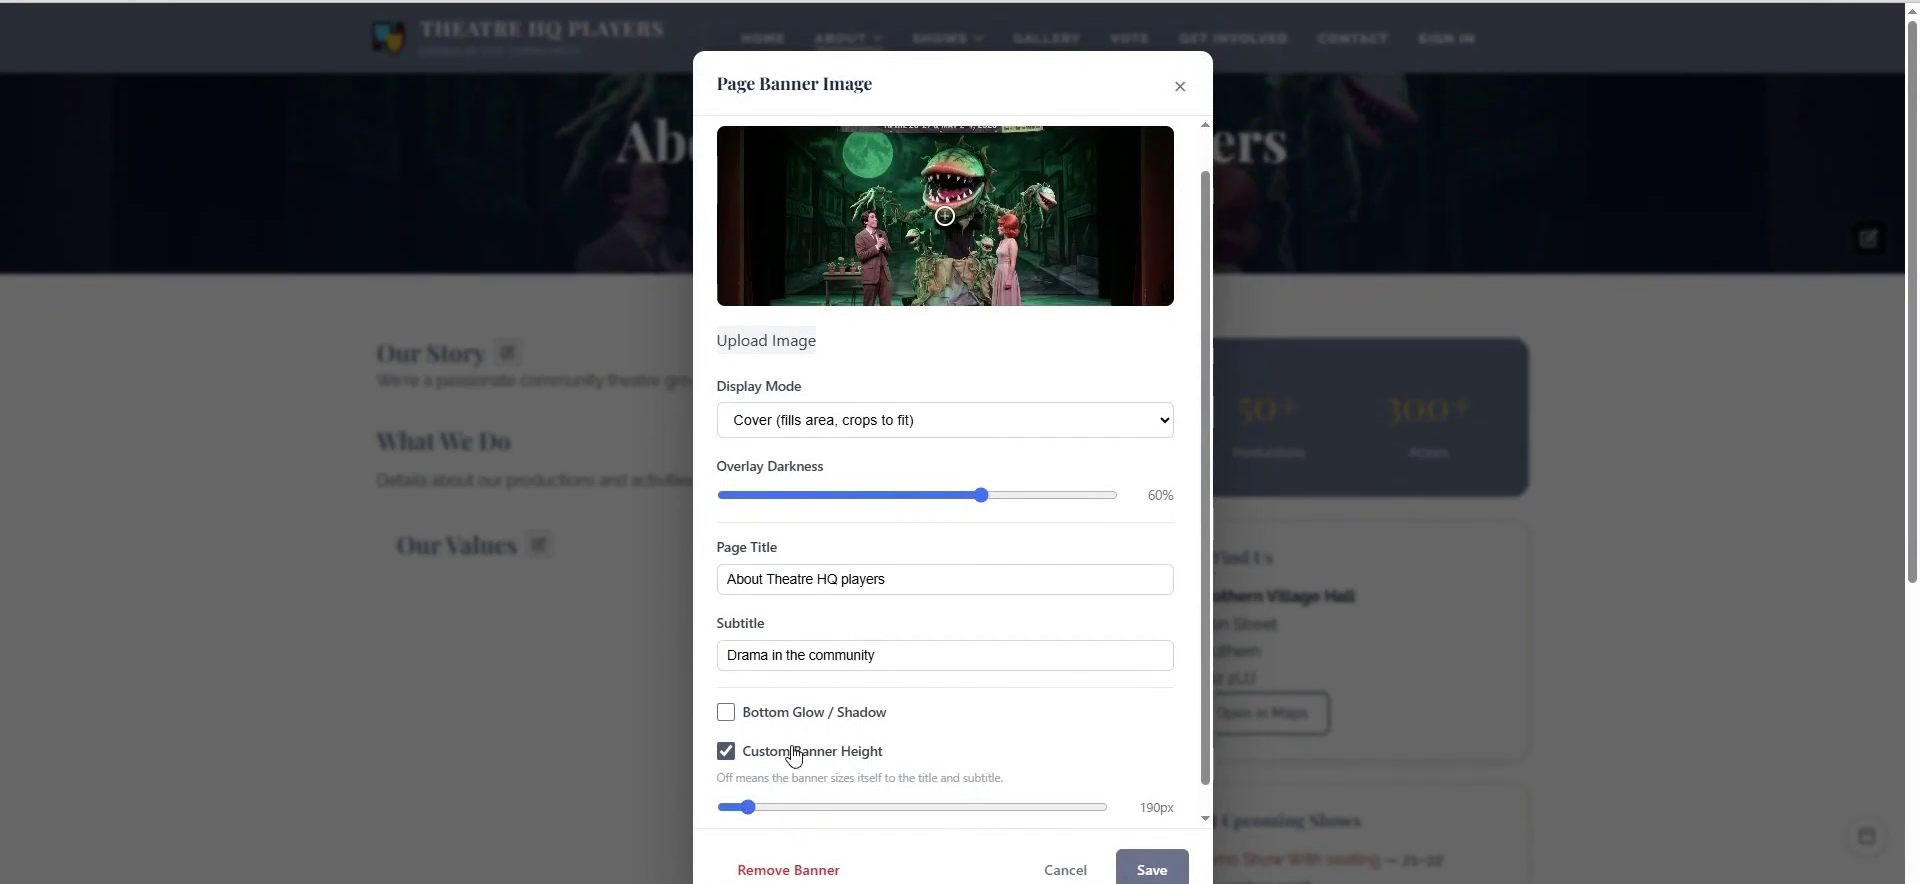
On other pages, click the pencil in the header section to set a Page Banner Image. You can upload an image, choose a display mode, adjust overlay darkness, and set the page title and subtitle. Enable Custom Banner Height if you want the banner to use a fixed height instead of sizing to its content, then save.
9. Add content to pages such as About
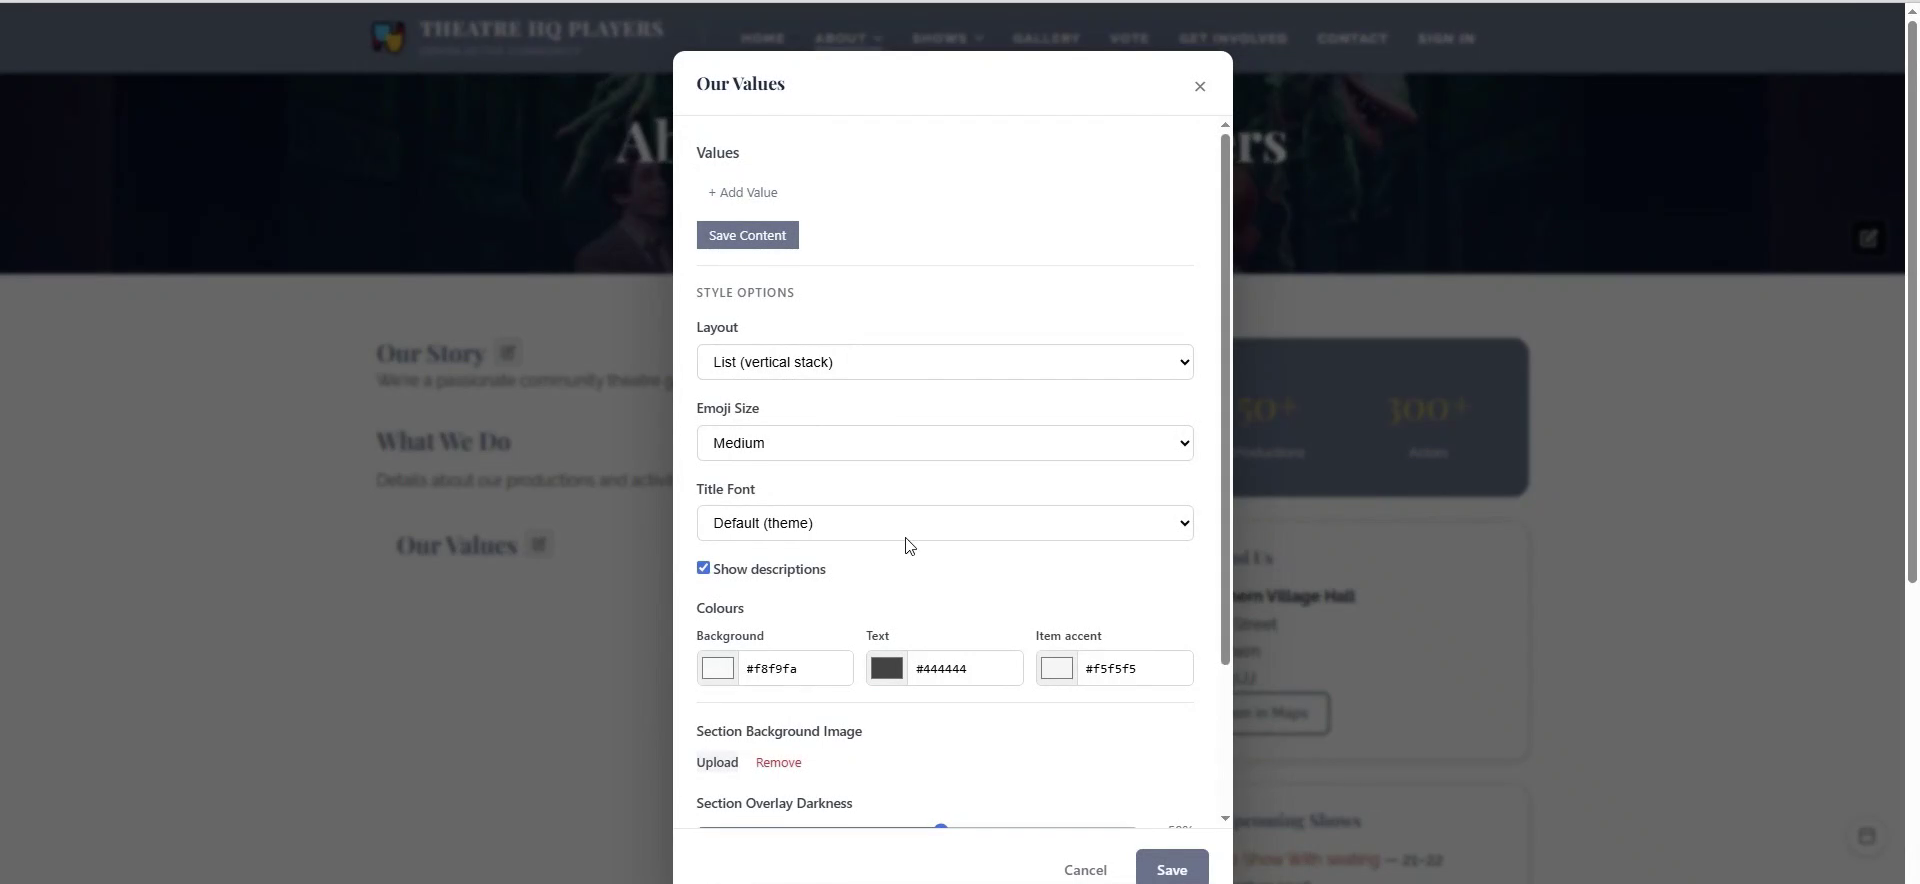
Pages like About have editable content sections such as Our Story, What We Do, and Our Values. Click the pencil next to a section to open its editor; for Our Values, you can add values and save content, and also adjust layout, emoji size, fonts, colours, and background. This lets you build page content from the front end without going into the admin area.
10. Edit the site-wide footer and social links
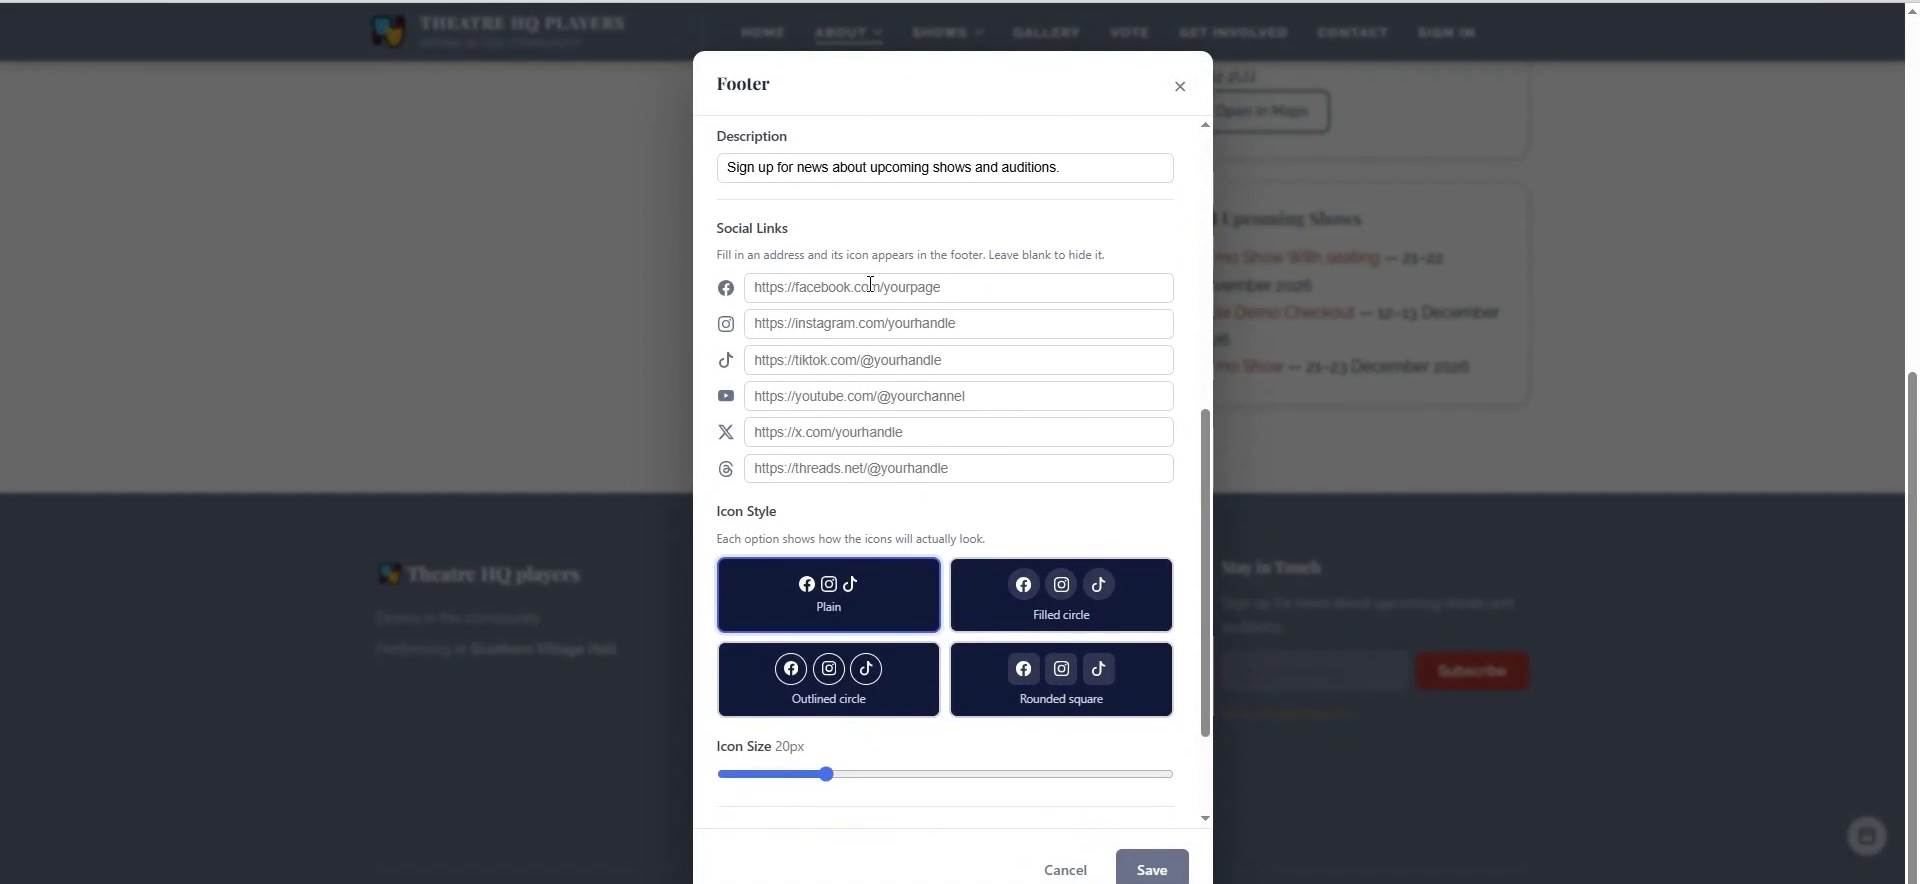
The footer appears across the entire site, so edit it once to update every page. In the Footer panel, update the description and add full social media URLs; blank fields hide that icon. You can also choose an icon style and icon size, then save.
11. Choose a show page layout
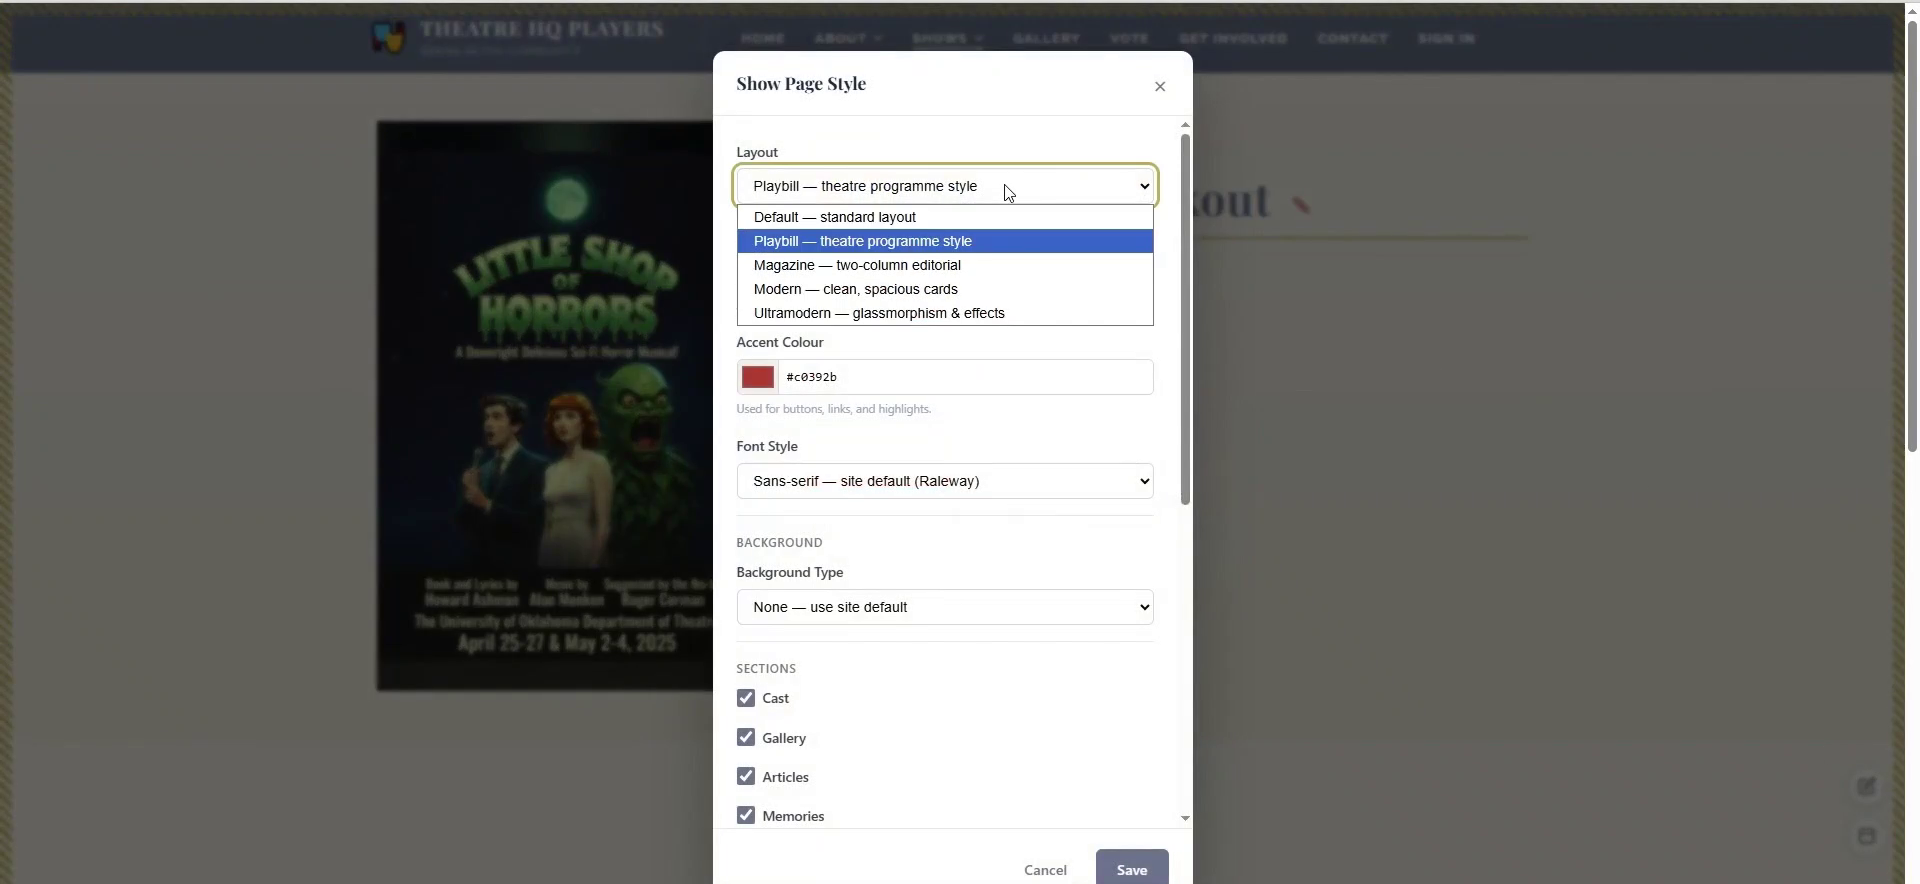
Open a show from the Shows menu and click its pencil icon to open Show Page Style. The Layout dropdown switches the whole page between Default, Playbill, Magazine, Modern and Ultramodern, and the same panel sets the accent colour, font, background and which sections (Cast, Gallery, Articles, Memories) appear. TheatreHQ has around 700 front-end options today, with plans to pass 1,000 in the coming months.
You have now seen the main front-end editing controls in TheatreHQ. Remember to click Save after changing a panel, and use the on-screen pencils whenever you need to update your live site.