Cataloguing your wardrobe and props
Record every costume, prop and set piece, where it's stored, which show has it, and print QR labels.
The Wardrobe keeps track of everything your society owns — costumes, props, set pieces and technical kit — with photos, condition, value and where it lives. You can see what each production has borrowed and print QR labels for the rails and boxes. This guide covers the essentials.
1. Find your way around the Wardrobe
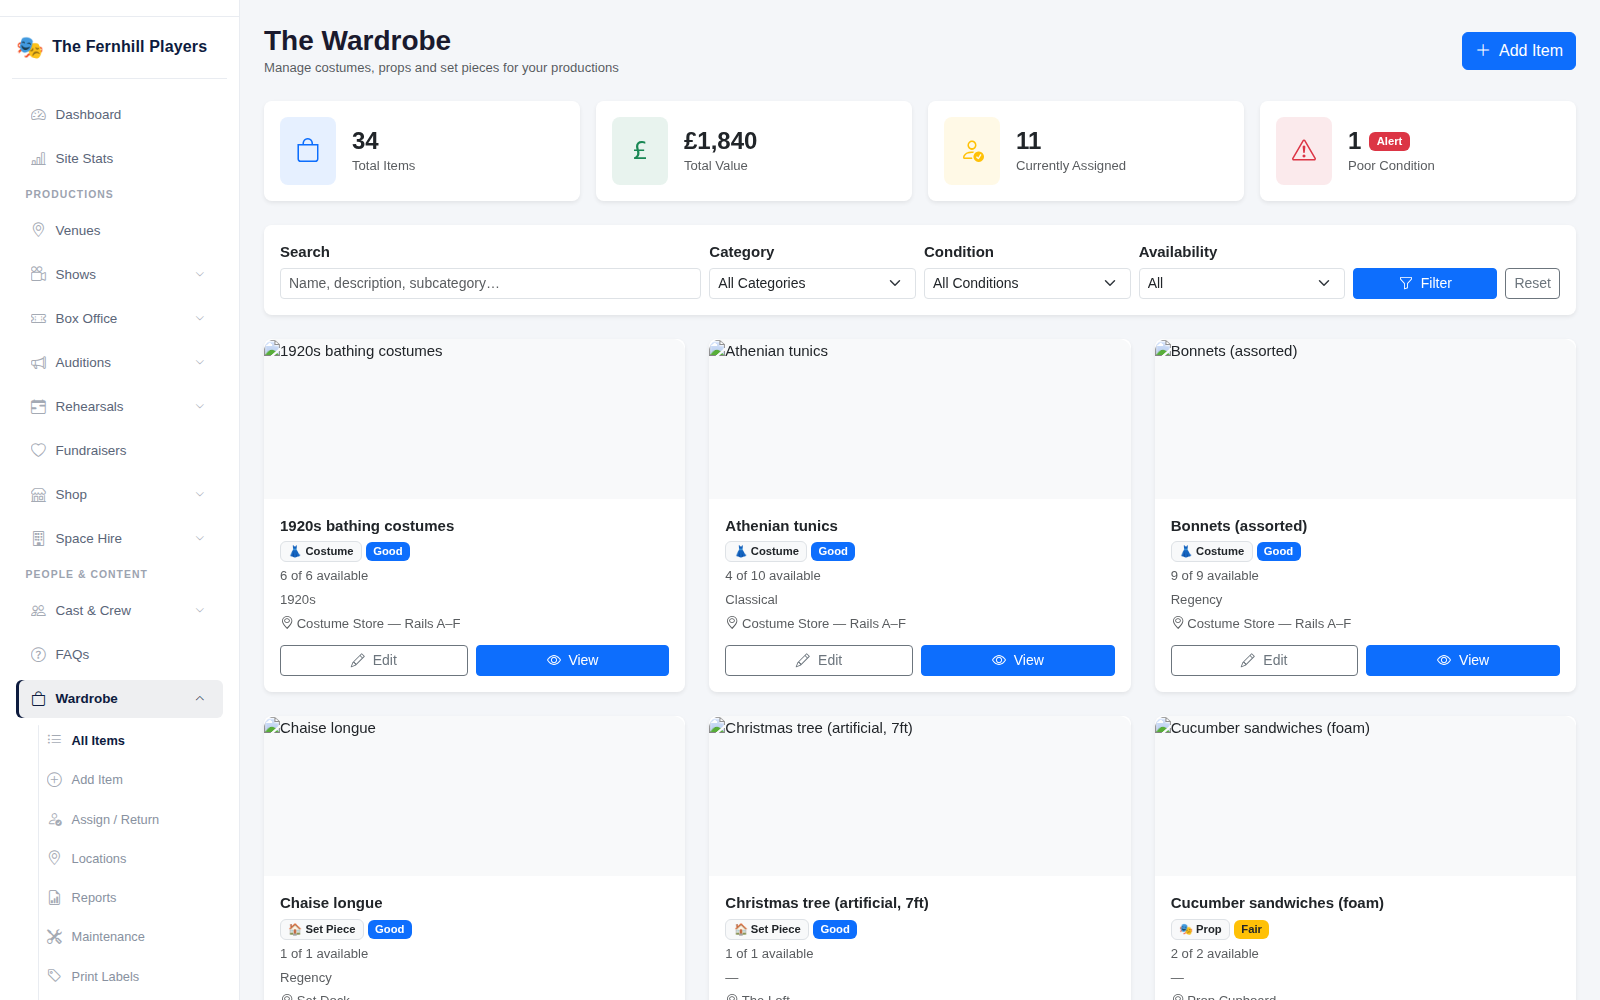
Open Wardrobe in the admin menu. The main page shows the number of items, their total value, how many are currently assigned to shows and anything in poor condition. Search and filter by Category, Condition and Availability; each card shows how many of that item are available and where it's stored.
2. Set up your storage locations
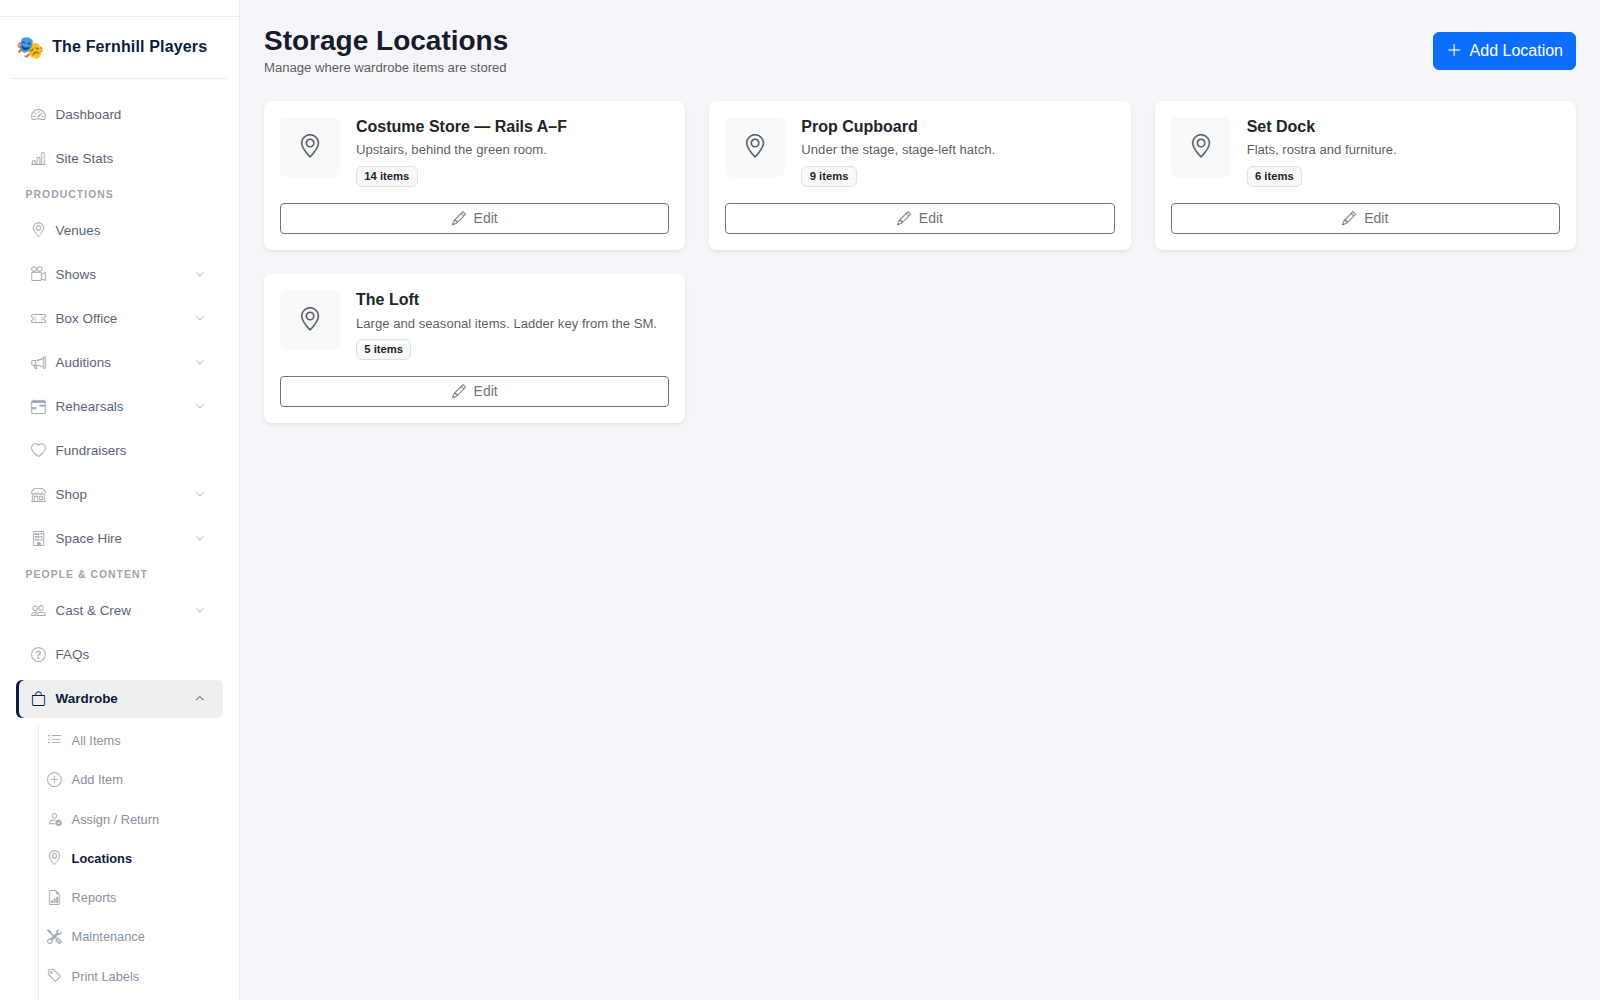
Before adding items, go to Locations and click Add Location for each place you keep things — a costume store, a prop cupboard, the loft. Add a short note on how to find it; each location shows how many items are kept there.
3. Add an item
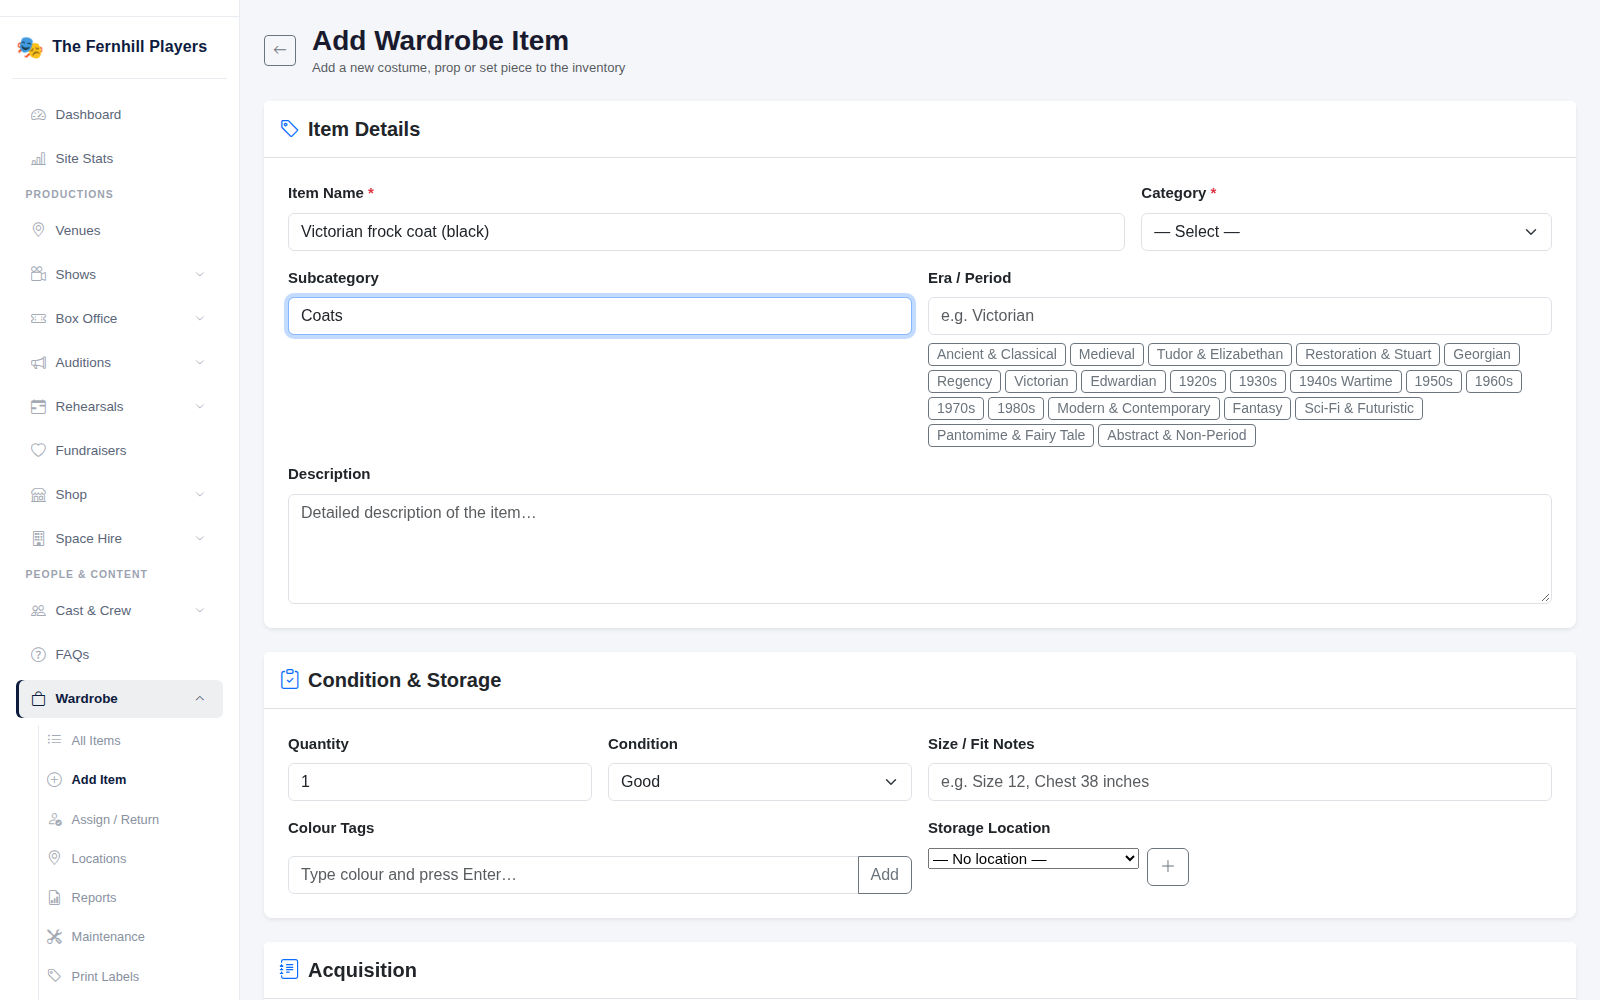
Click Add Item. Enter the Item Name, choose a Category (Costume, Prop, Set Piece, Technical or Other), and add a Subcategory and Era / Period if useful. Under Condition & Storage record the Quantity, Condition, size or fit notes, colour tags and Storage Location.
The Acquisition section records its estimated value and where it came from, and you can upload up to eight photos — the first becomes the main image. Click Add Item to save.
4. Lend items to a production
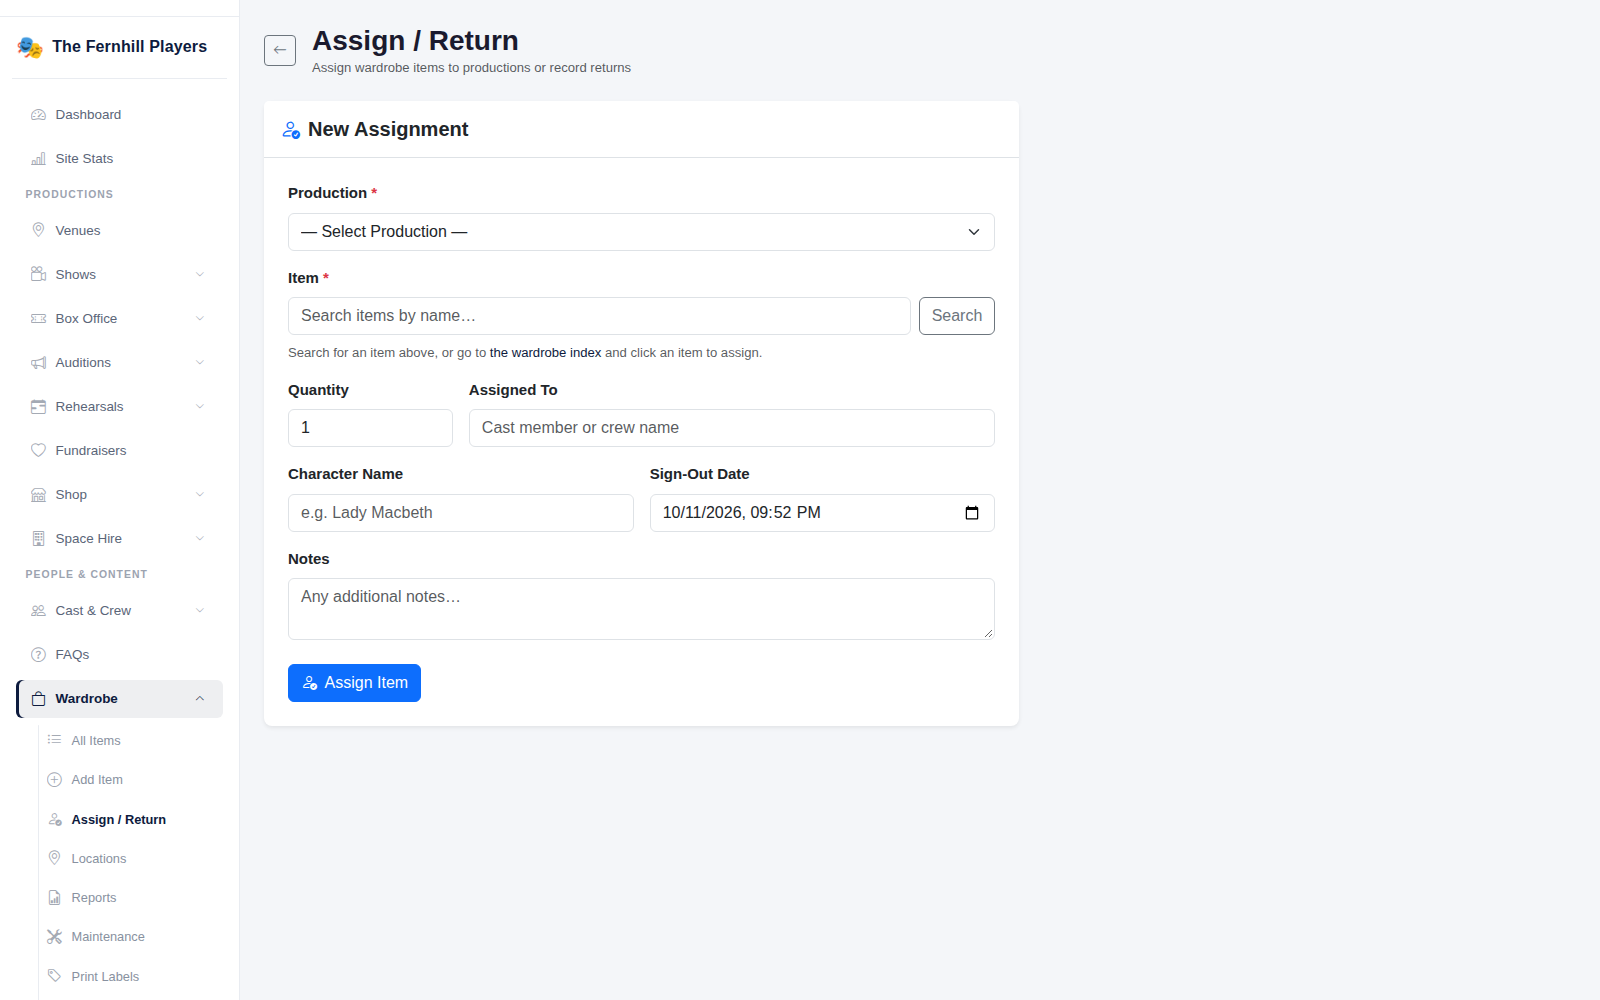
When a show needs something, go to Assign / Return. Choose the Production, search for the item, and enter the Quantity, who it's Assigned To, the Character Name and the sign-out date, then click Assign Item. The item's availability updates straight away, and when the show's over you record its return — and its condition — from the same page.
5. Print QR labels
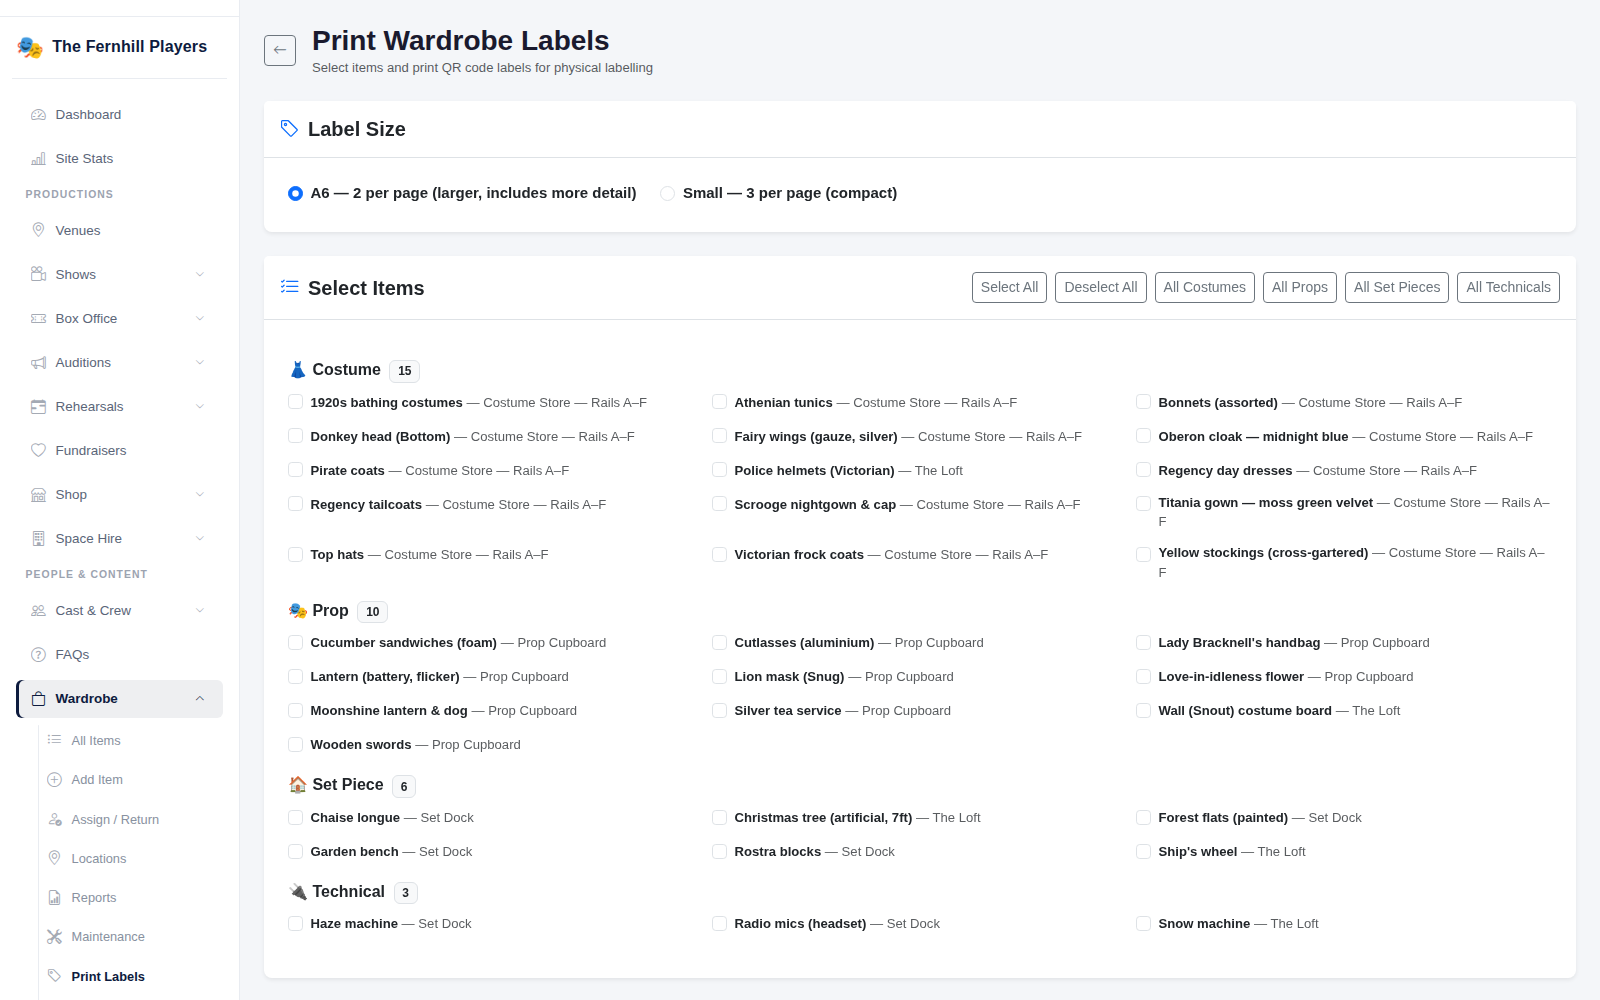
Go to Print Labels, choose a label size, and tick the items you want — or use the shortcuts to select all costumes, props or set pieces. Each label carries a QR code for the item, so anyone can scan a rail or box to look it up.
Tip: Maintenance lets you log repairs and cleaning, and Reports summarises your stock — handy at insurance renewal time.