Managing your audience list
Keep every patron in one place with their bookings, tags, notes and contact preferences.
Everyone who books with you ends up in your audience list, with their bookings, preferences and whether they're happy to hear from you. Used well, it helps you sell tickets, thank regulars and look after people's access needs. This guide shows the basics.
1. Find your way around
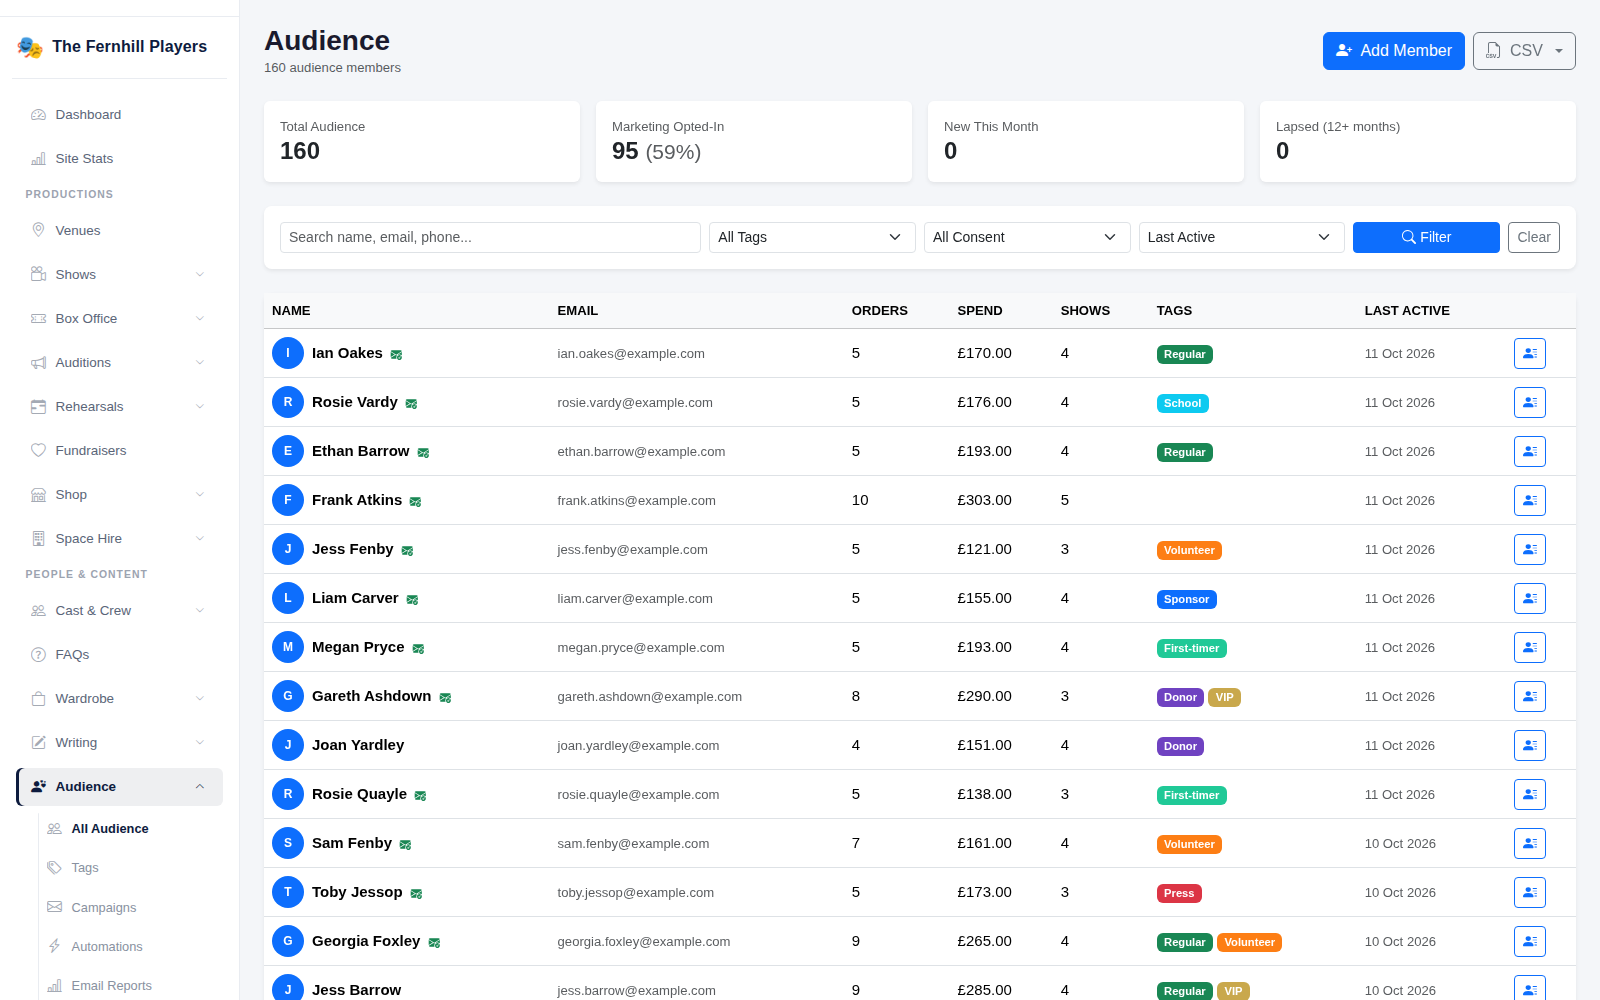
Go to Audience. The top shows your total audience, how many have opted in to marketing, new people this month and those who haven't been for over a year. Search by name or email, or filter by tag, consent and last activity; each row shows orders, total spend, shows seen and tags.
Use Add Member to add someone by hand, and CSV to export the list.
2. Look at someone's profile
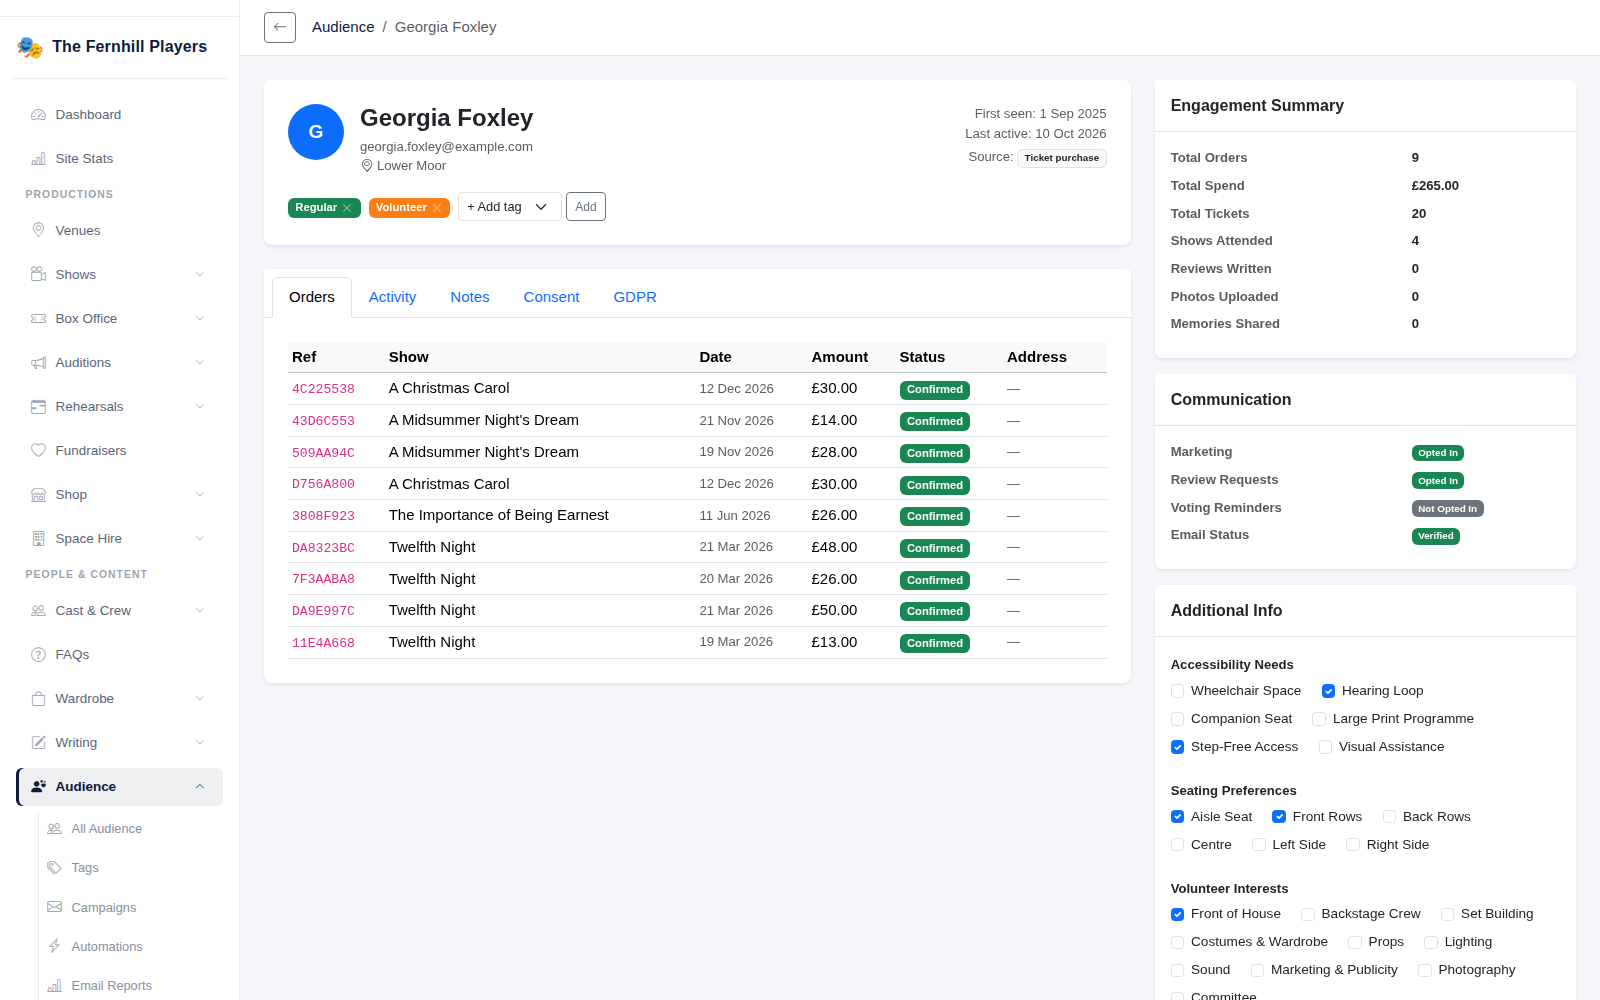
Click a name to open their profile. You'll see their orders and the shows they've seen, a summary of their engagement, their communication preferences, and extra information such as accessibility needs, seating preferences and household. Staff can add notes for each other here too.
3. Group people with tags
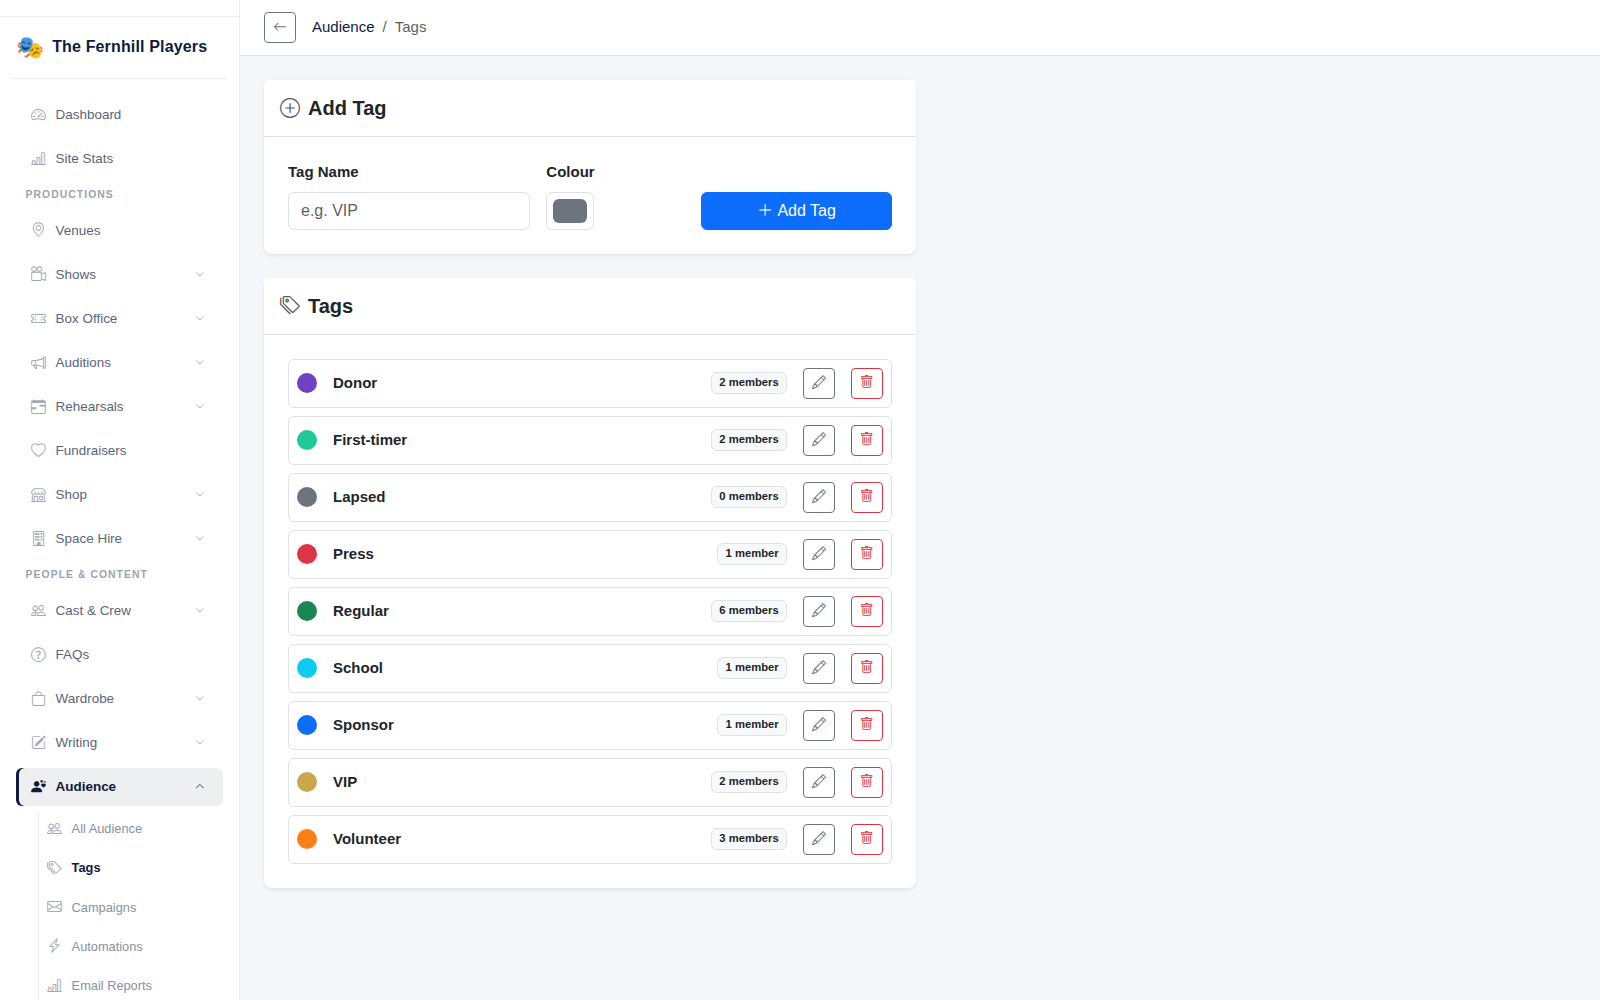
Tags let you group people — Regular, VIP, Volunteer, Press, School and so on. Go to Audience > Tags to create tags with a name and colour; each shows how many people have it. You can then filter the audience list by tag, or choose a tag when sending an email campaign.
Tip: only email people who've opted in to marketing — the Consent filter on the audience list shows who has.