Setting up your online shop
Switch on the shop, set up collection and delivery, add products with sizes and stock, and sell from your website.
The shop lets your society sell merchandise — T-shirts, posters, mugs, programmes — straight from your own website, with stock levels and delivery options managed in the same place as everything else. This guide takes you from switching it on to your first product going live.
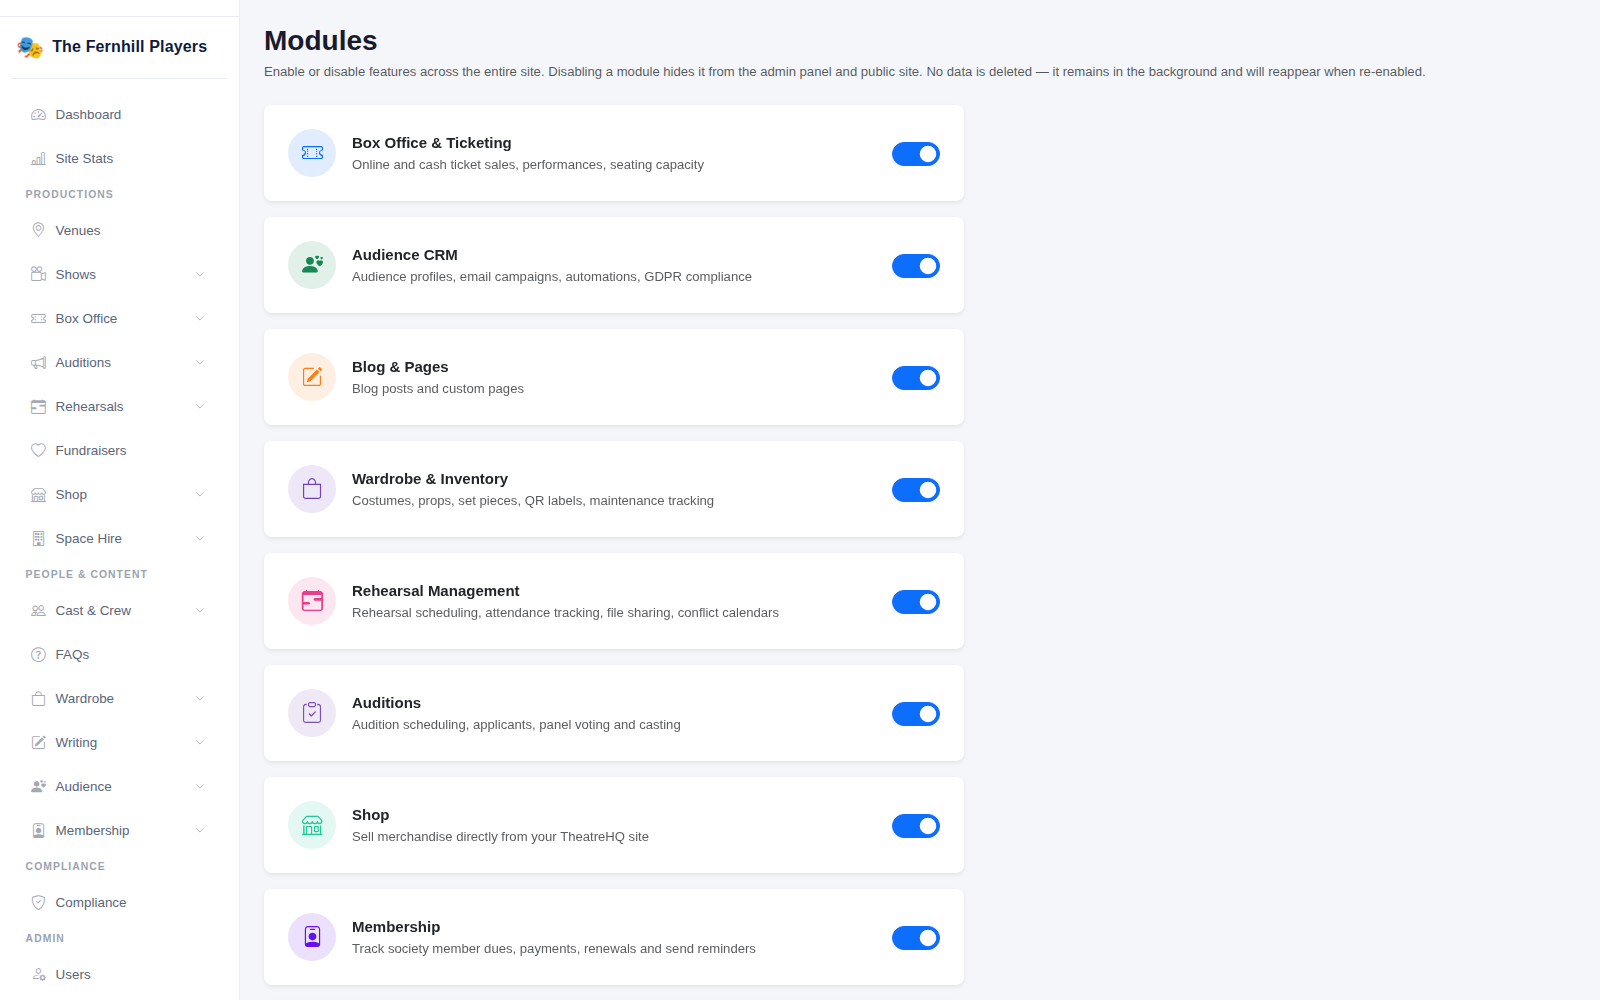
1. Switch the shop on
Go to Settings > Modules and turn on Shop. Switching a module off hides it from the admin and your website but doesn't delete anything, so you can turn it on and off as you need. Once it's on, Shop appears in the admin menu.
2. Choose how customers get their orders
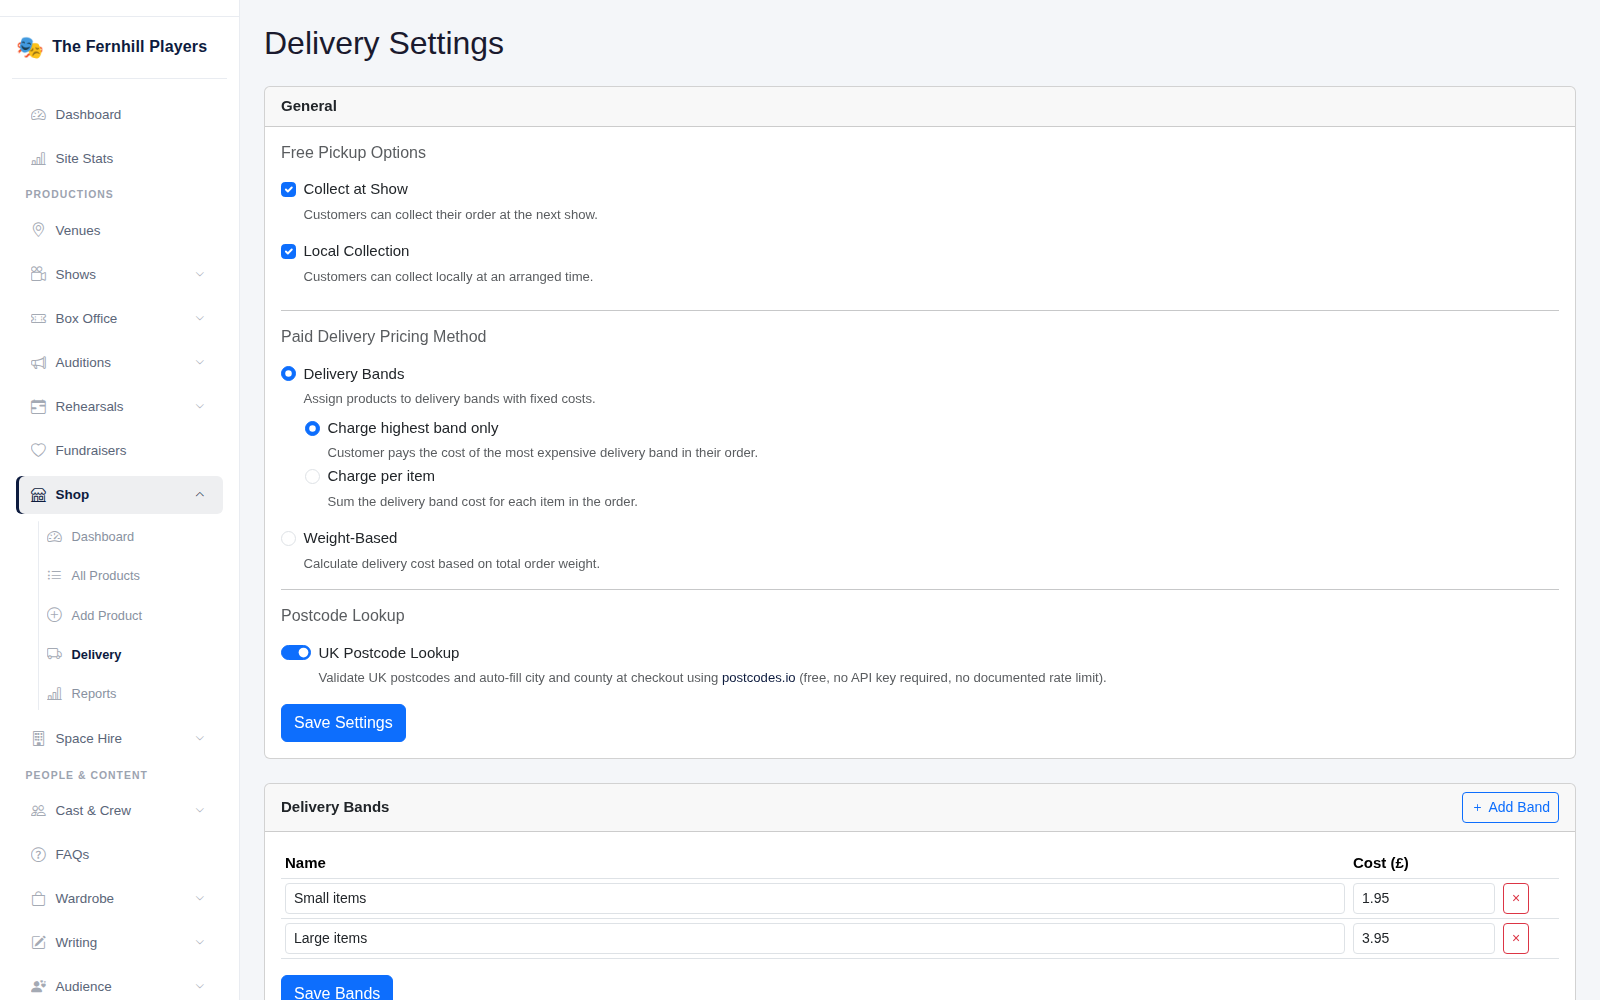
Open Shop > Delivery. Under Free Pickup Options you can offer Collect at Show (customers pick their order up at your next show) and Local Collection at an arranged time.
For posting orders, choose a Paid Delivery Pricing Method:
- Delivery Bands — fixed prices such as “Small items” and “Large items”, charging either the highest band in the order or each item's band.
- Weight-Based — a price for each weight range you set up under Weight Tiers.
You can also switch on UK Postcode Lookup to check postcodes and fill in the town at checkout, and choose which countries you deliver to. Click Save Settings when you're done.
3. Add a product
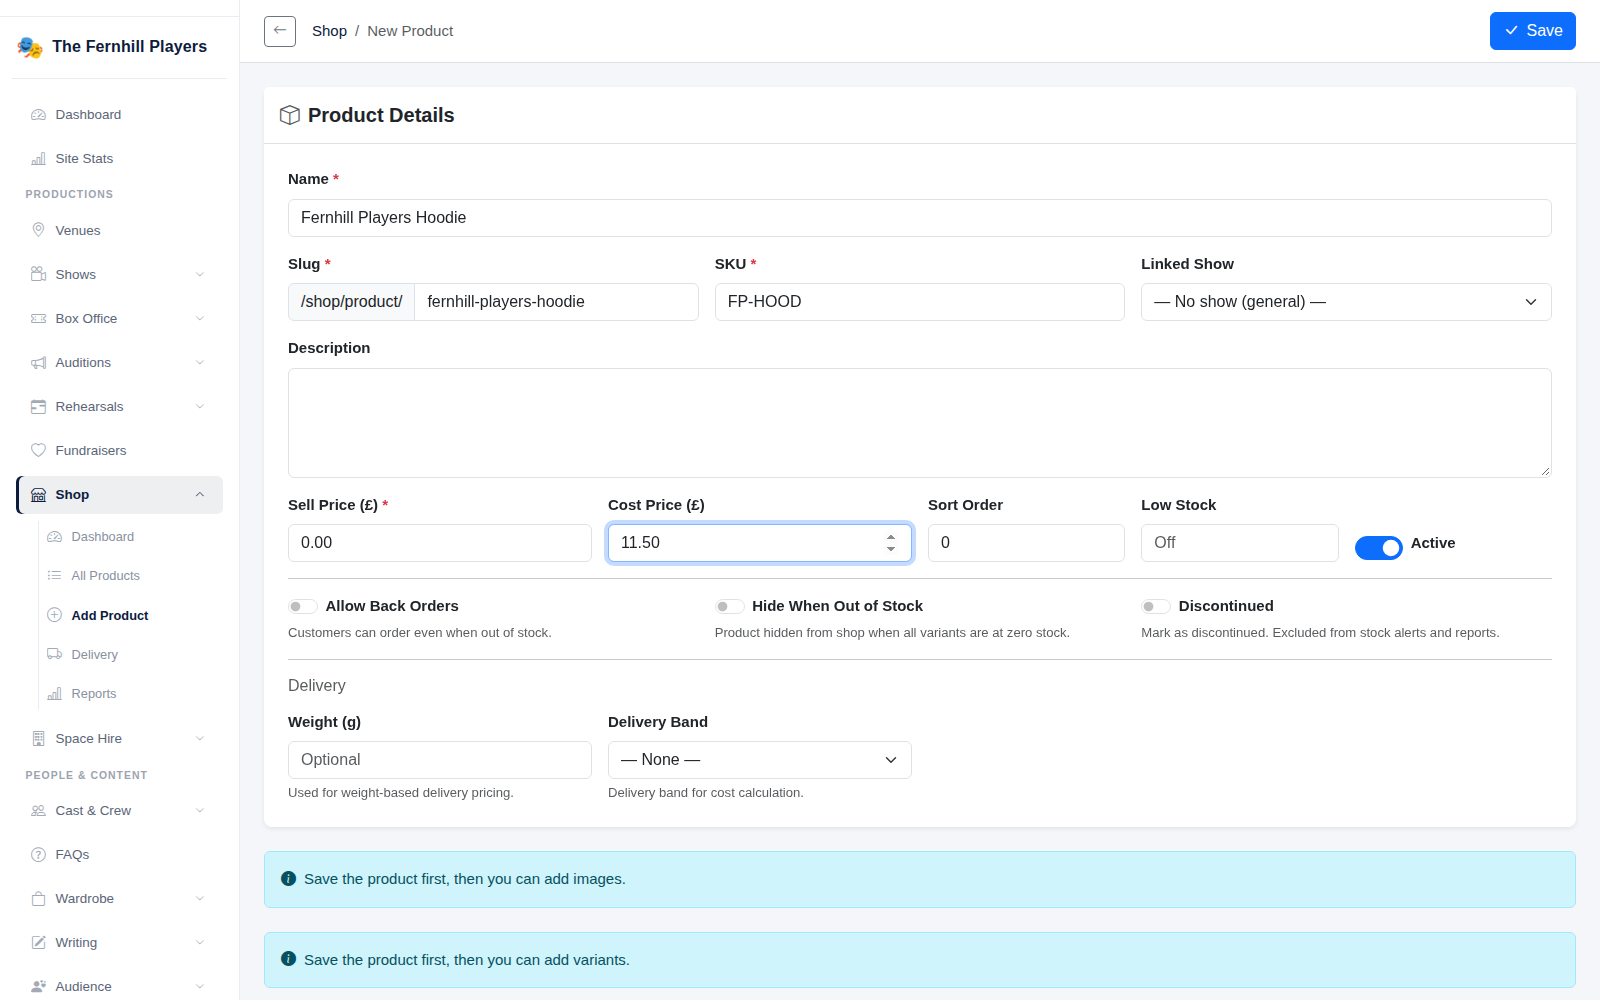
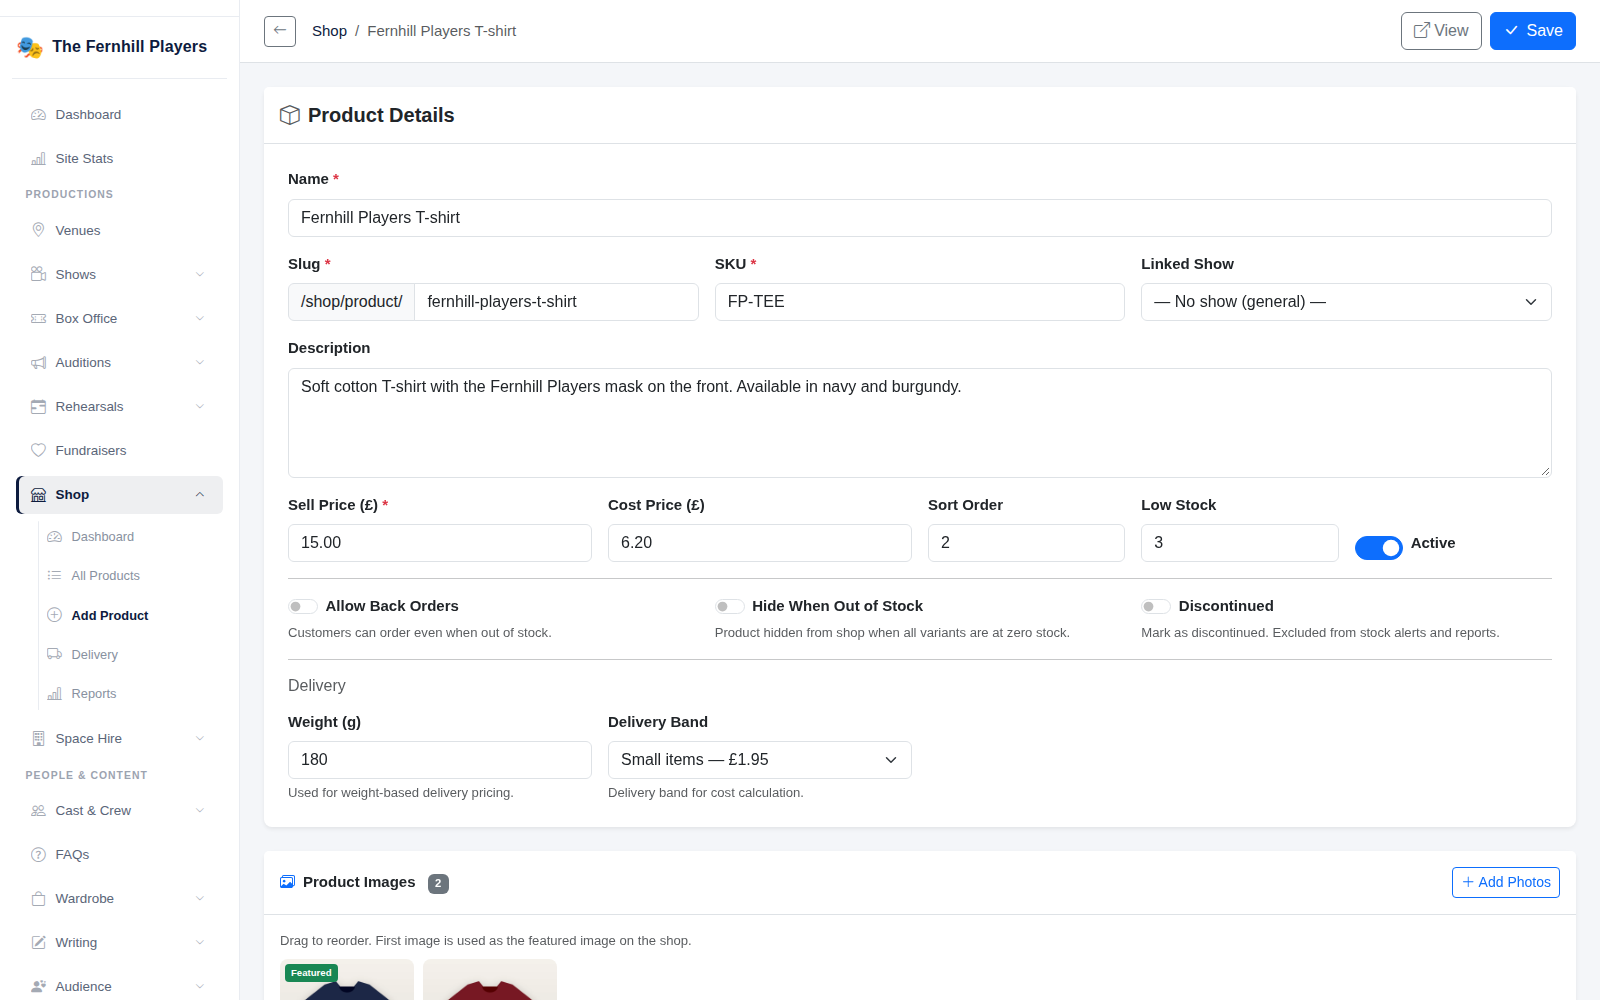
Go to Shop > Add Product. Give it a Name (the web address fills in for you), a SKU code, a Description, the Sell Price and, if you like, the Cost Price so the shop can work out your profit. Link it to a show under Linked Show if it's for a particular production.
Set a Low Stock level to be warned before you run out, and choose whether to Allow Back Orders or Hide When Out of Stock. Under Delivery, pick the product's delivery band or enter its weight. Click Save.
4. Add photos, sizes and colours
Once the product is saved you can add Product Images — the first becomes the main photo — and variants such as sizes and colours, each with its own stock level and SKU.
5. Keep an eye on stock
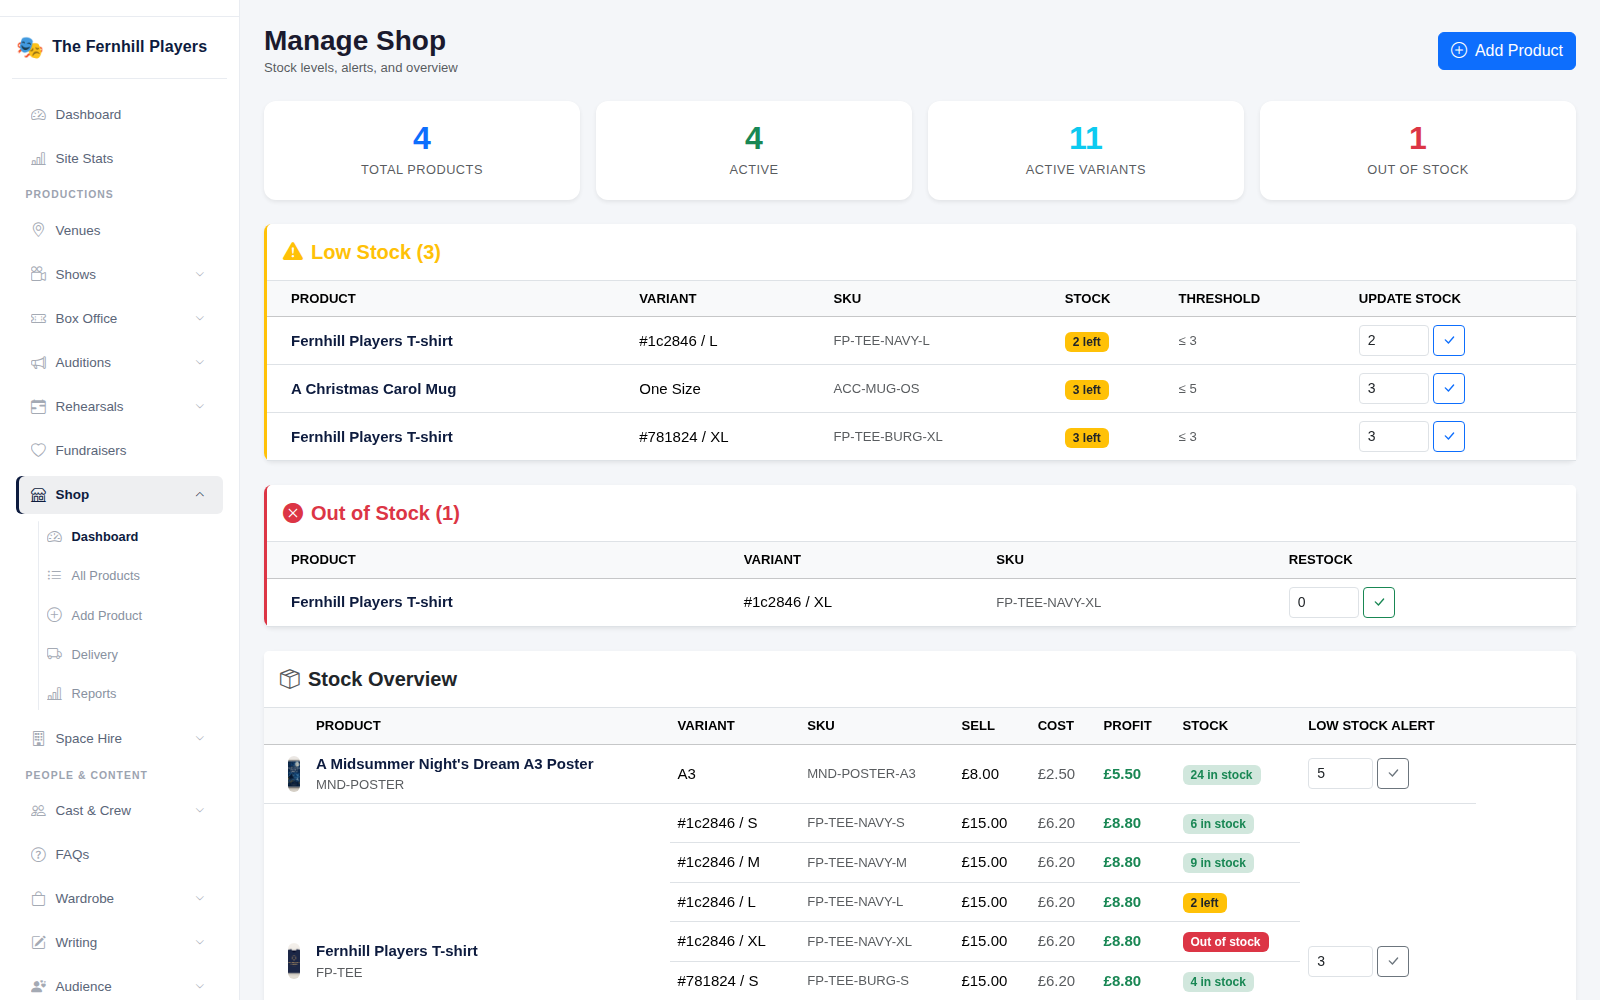
The Manage Shop page shows your products at a glance, lists anything with Low Stock or Out of Stock, and lets you update stock levels straight from the list. The Stock Overview shows the sell price, cost and profit for every variant.
6. See your shop online
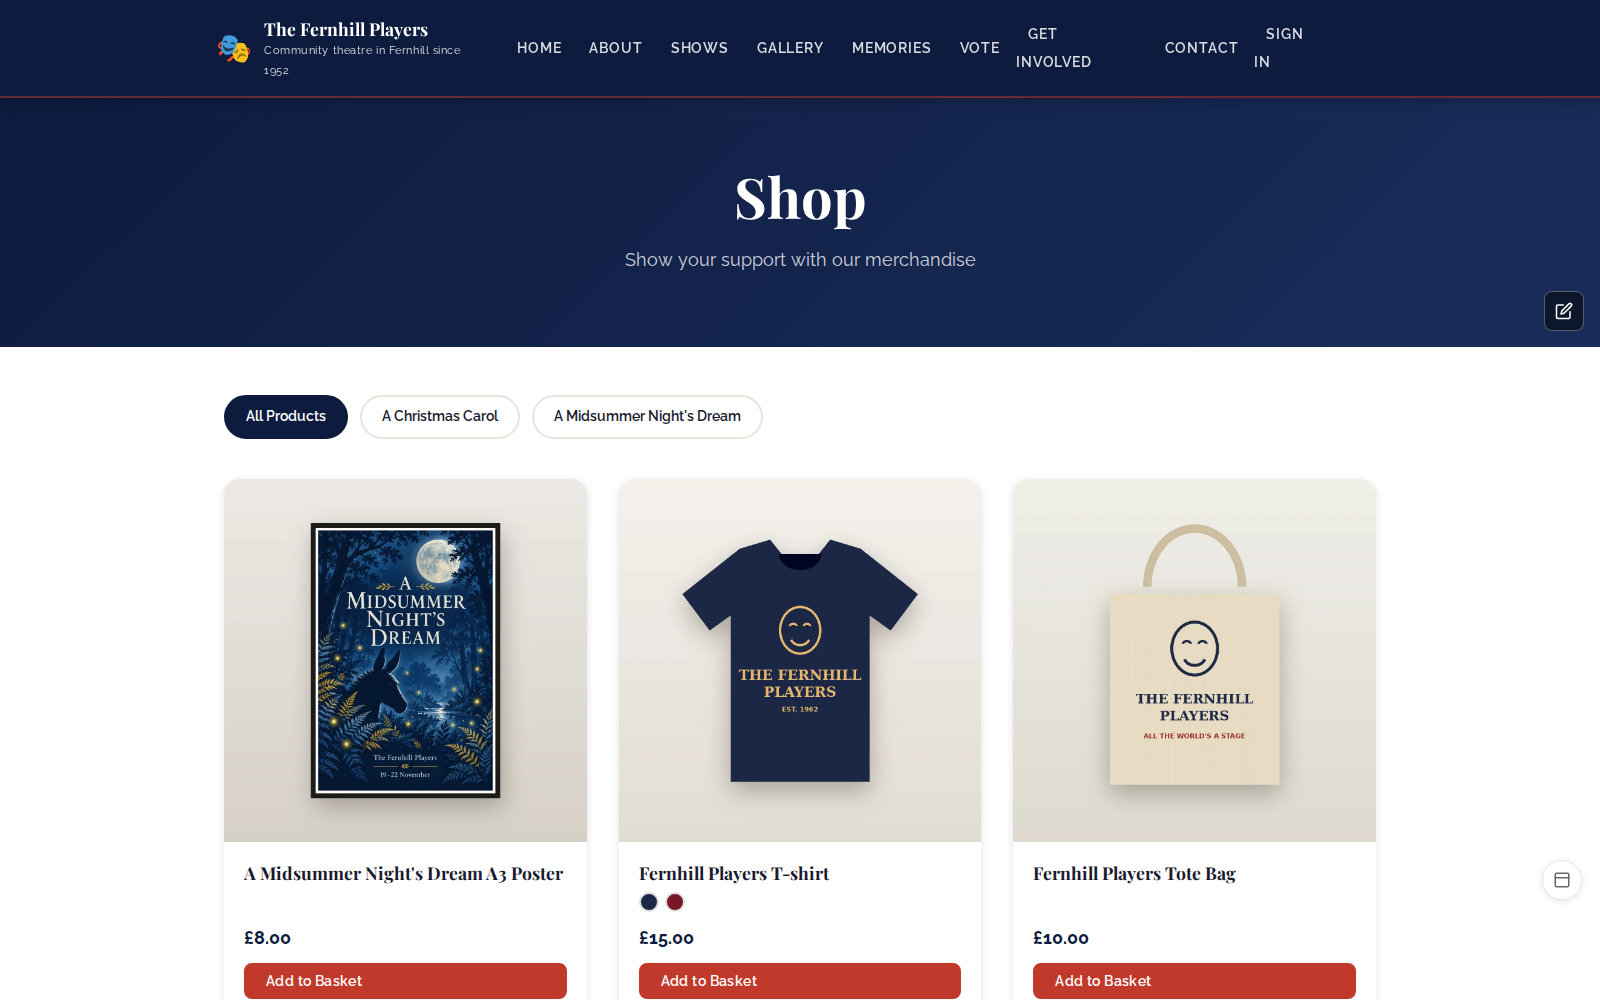
Your shop appears on your website with a page for each product and filters for each linked show. Customers add items to their basket and choose collection or delivery at checkout.
Tip: Shop > Reports shows sales and stock once orders come in, and can export your orders, including in a format ready to import into Xero.