Writing blog posts for your website
Write news and stories for your website's blog, add a cover image, and tag the shows and people each post is about.
A blog gives people a reason to come back to your website between shows. Cast announcements, a look inside the workshop, a thank you after closing night: they all keep your society in people's minds, and every post is something new for the cast to share and for search engines to find.
1. Open the blog
Go to Writing > Blog. Your posts are listed with their author, whether they're published, and the date. Use the buttons on the right to edit, view or delete a post, and click New Post to start a new one.
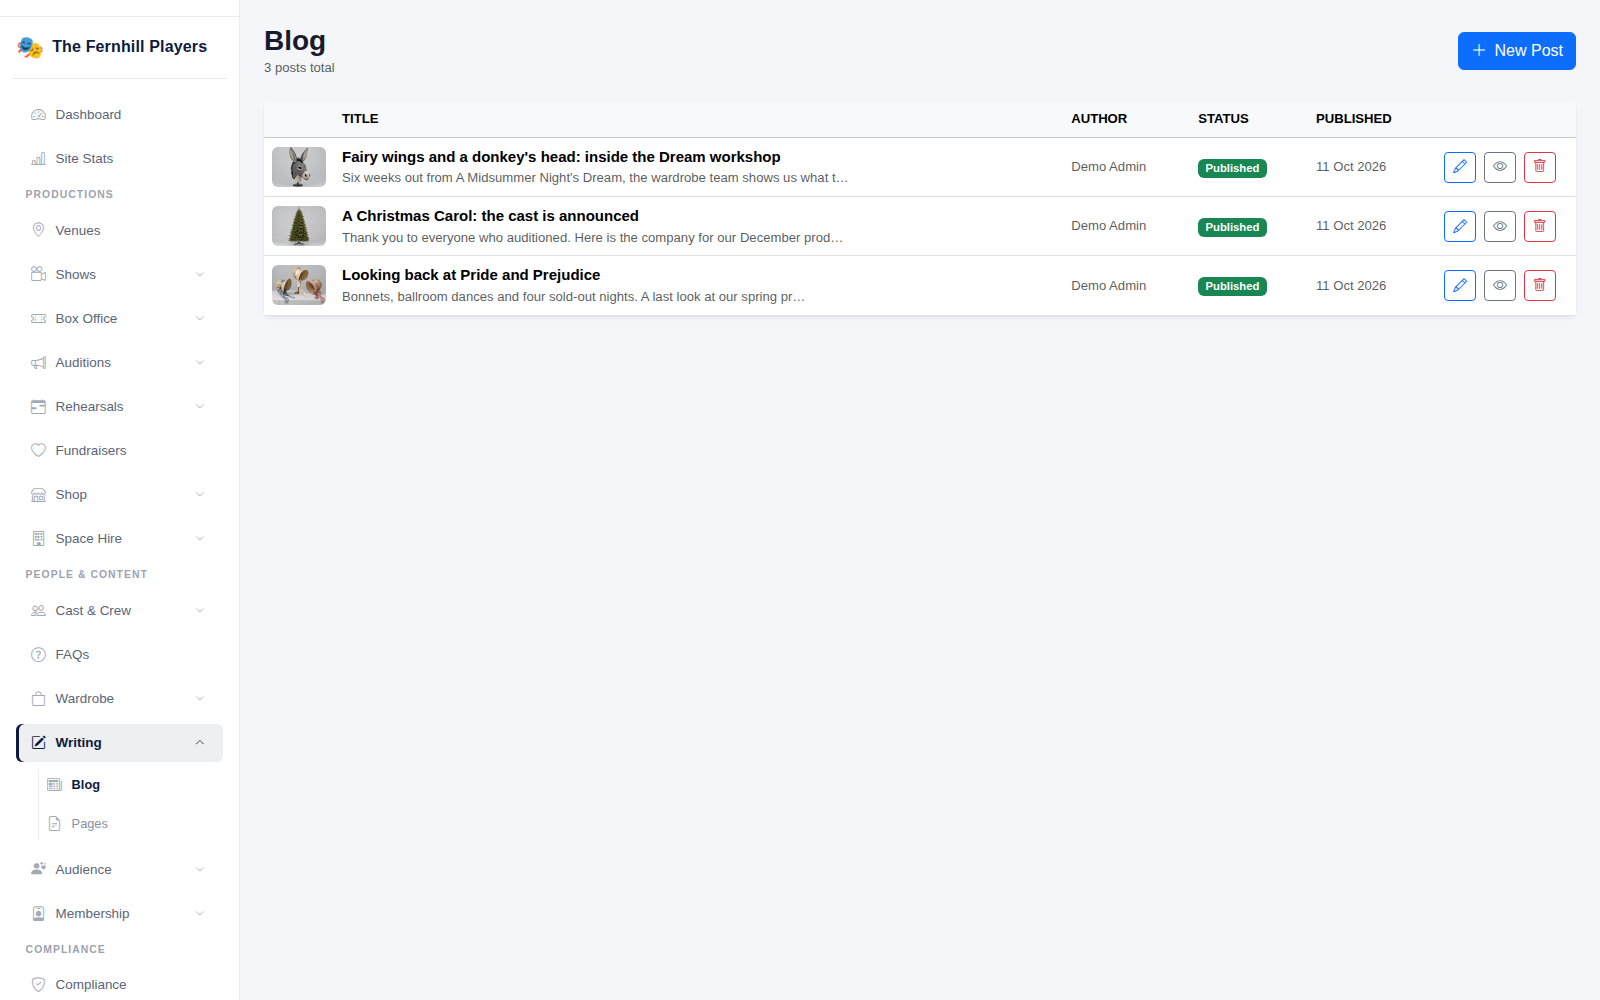
2. Write the post
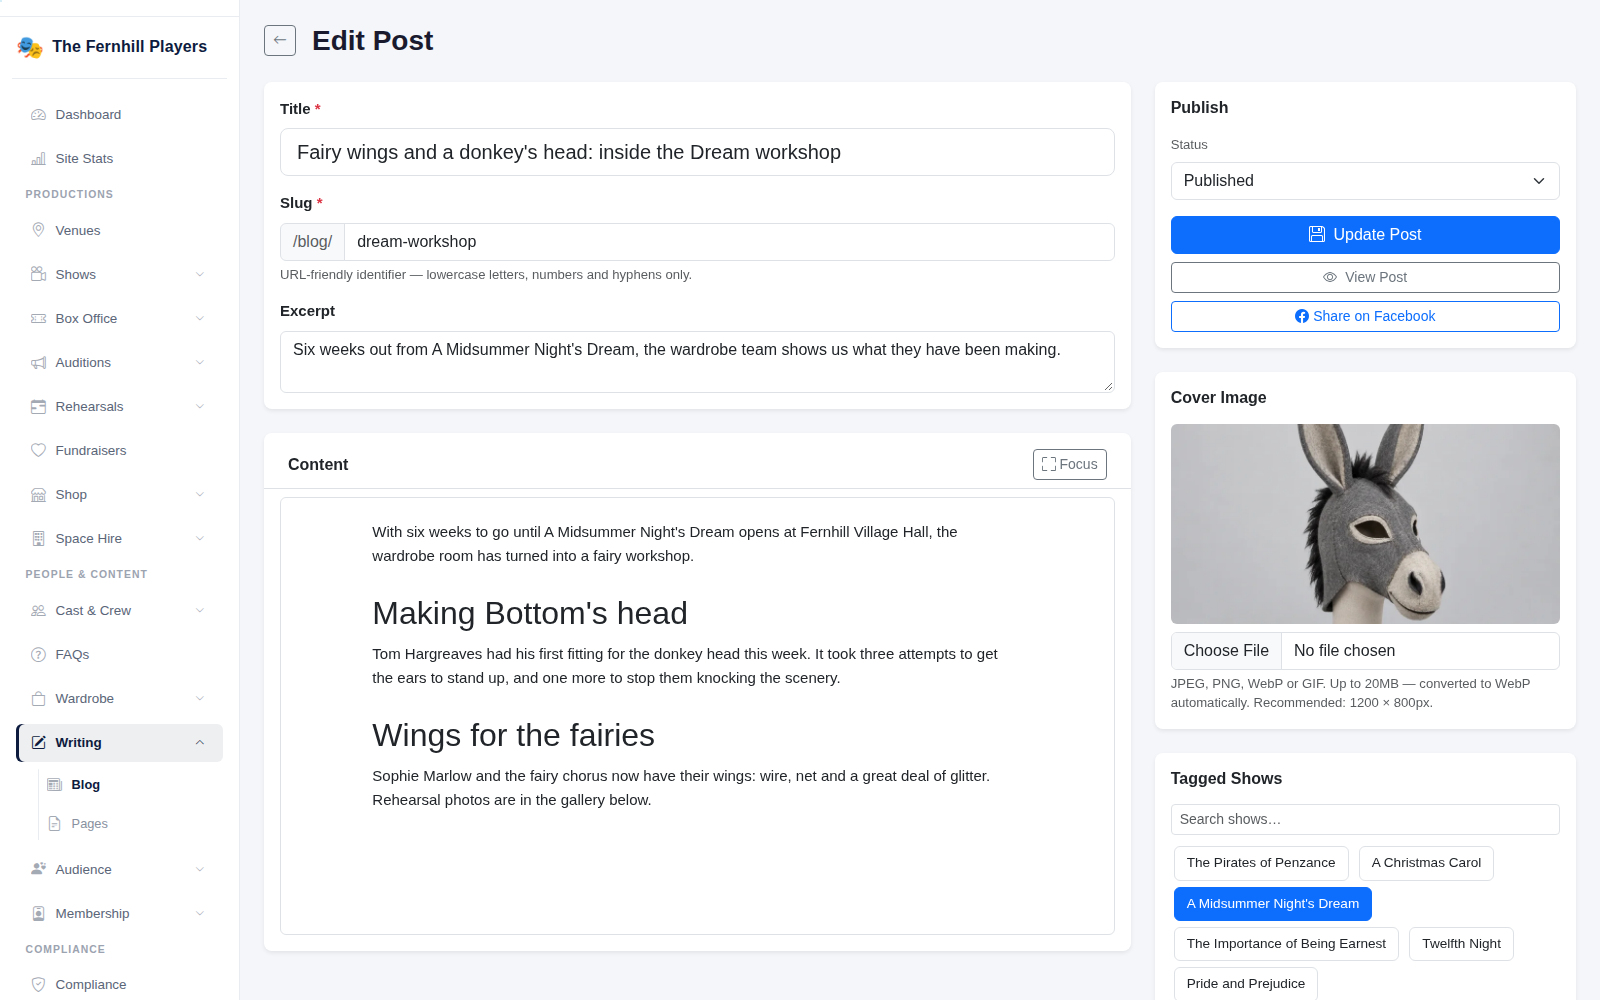
Add a Title. The Slug is the end of the web address, so keep it short and readable, for example /blog/christmas-carol-cast. The Excerpt is the short summary shown on your blog page and when the post is shared, so make it a sentence that makes people want to read on.
Write the post itself in the Content box. Use headings to break up anything longer than a few paragraphs. The Focus button hides everything else on the page if you'd like a quieter place to write.
3. Add a cover image
Under Cover Image, choose a photo. JPEG, PNG, WebP and GIF are fine, up to 20MB, and they're converted to WebP automatically so they load quickly. A landscape picture around 1200 by 800 pixels works best. It's shown at the top of the post and when the link is shared on social media.
4. Tag the shows and people in it
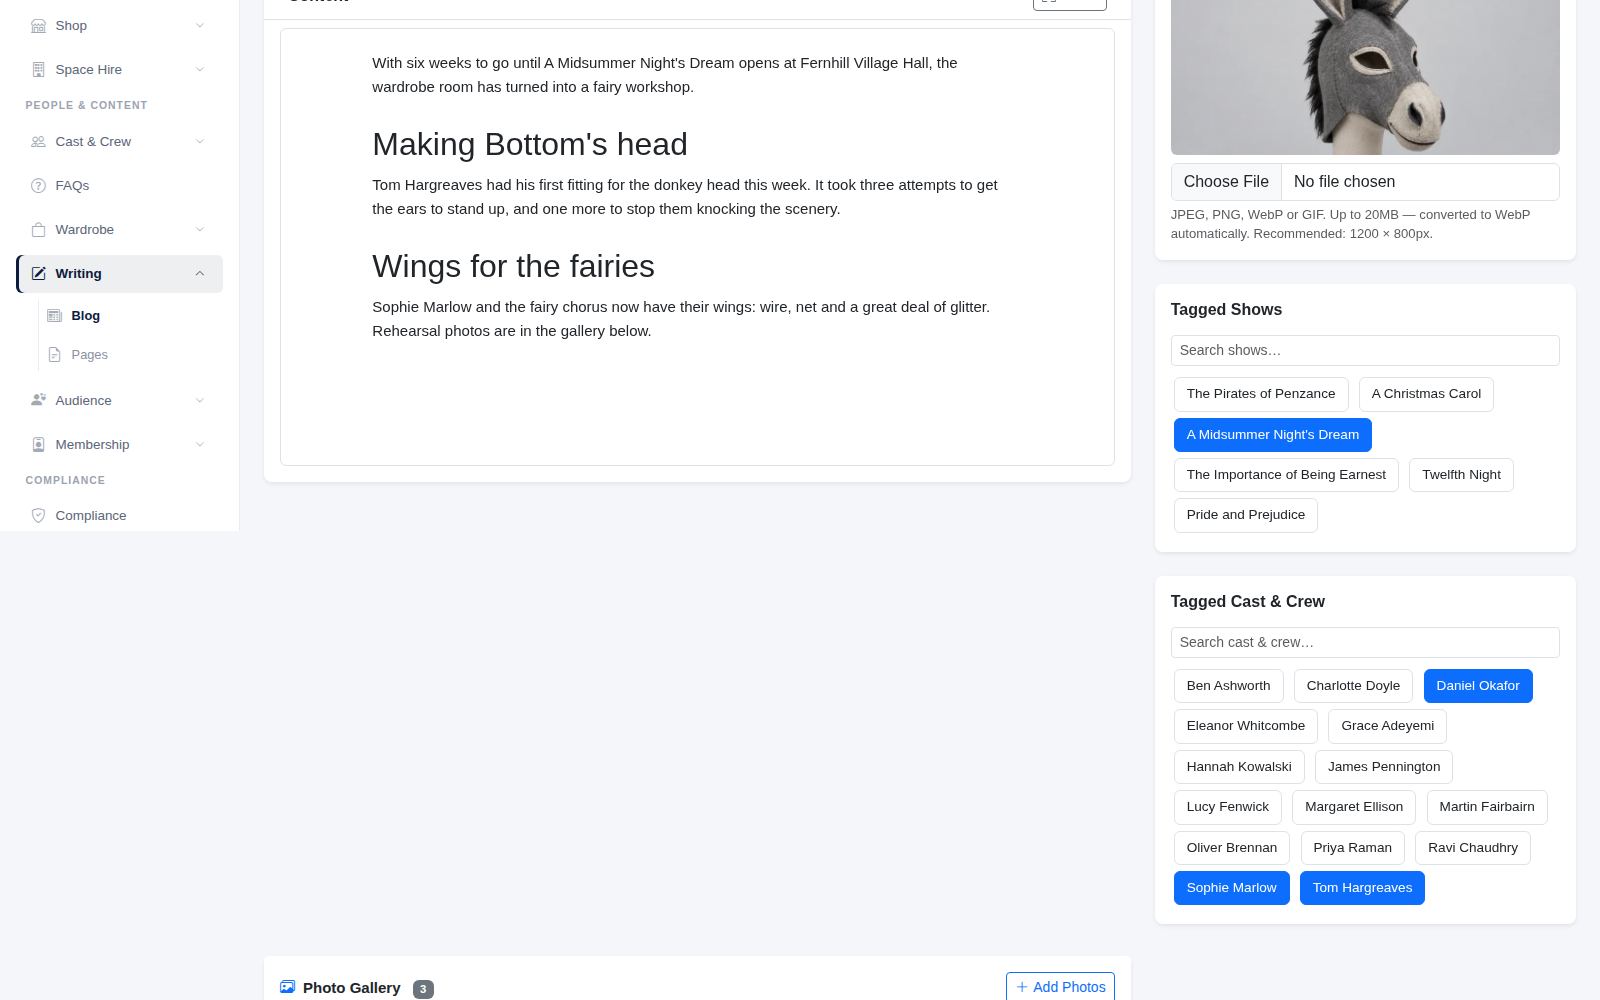
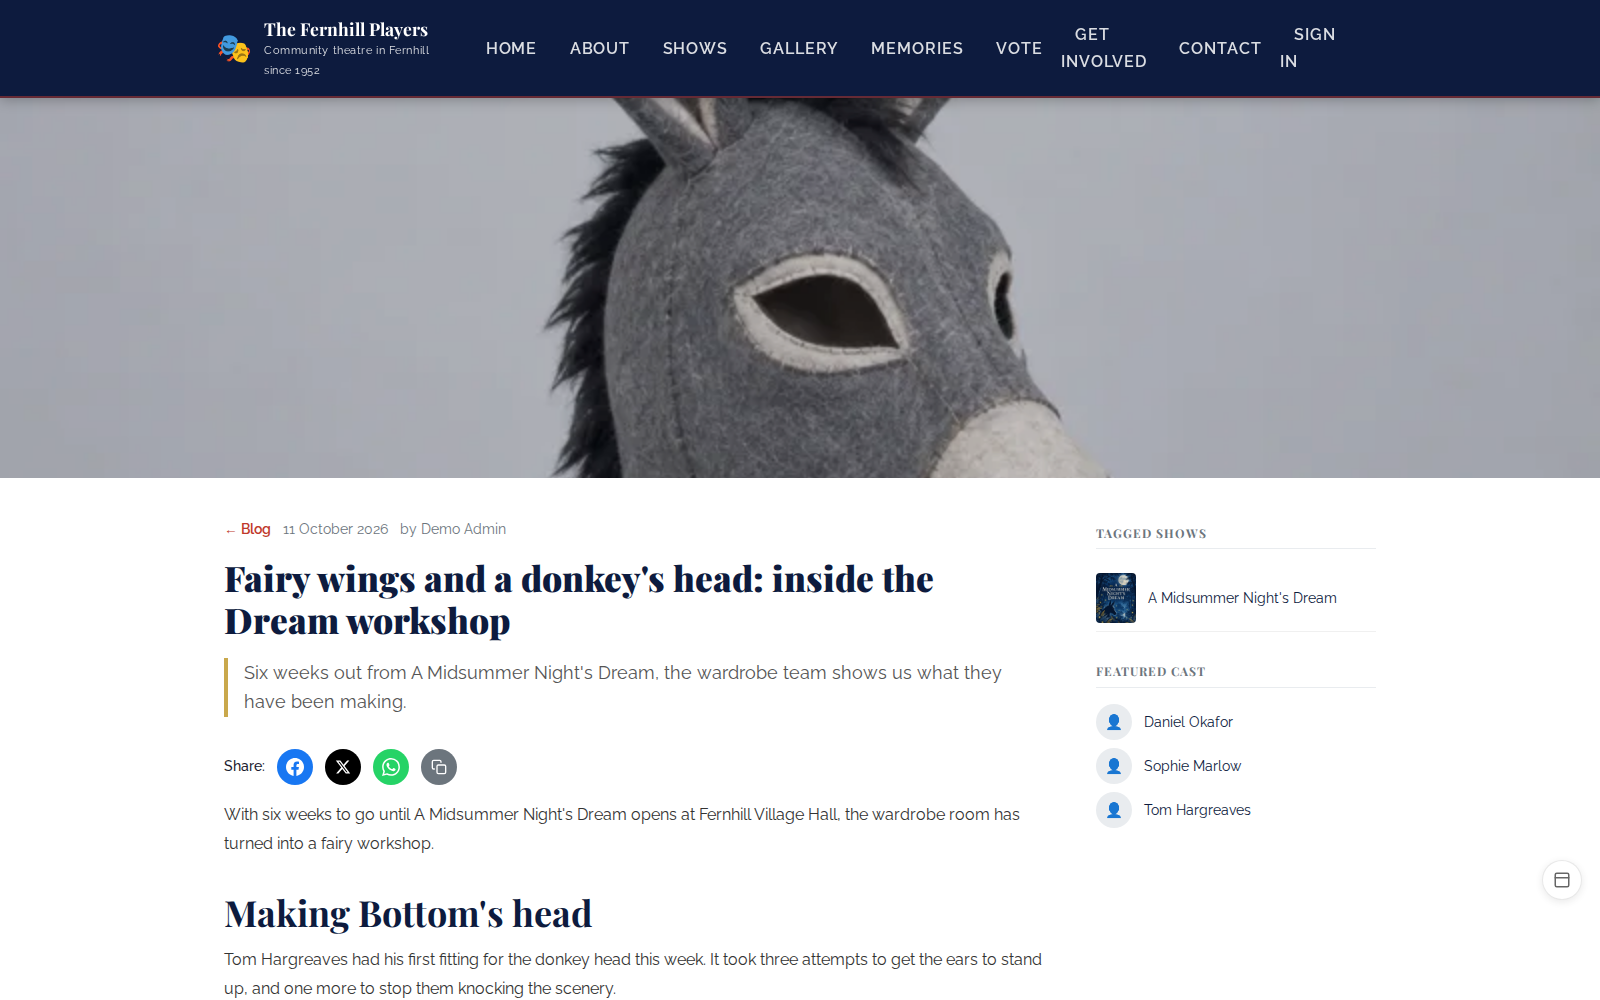
Under Tagged Shows and Tagged Cast & Crew, click the shows and people the post is about. They appear beside the post with links to the show page and their profiles, which helps readers find their way around your site.
Once the post has been saved, you can add a Photo Gallery to it as well, which is ideal for rehearsal photos or a look back at a show.
5. Publish and share
Leave Status on Draft while you're working on it; nobody else can see a draft. When it's ready, set it to Published and click Update Post (or Create Post for a new one). Use View Post to check it, and Share on Facebook to post it straight to your page.
What to write about
- Cast announcements once auditions are done.
- Behind the scenes: set building, costume fittings, the first band call.
- A look back after each show, with photos and a thank you.
- News about the society: a new committee, an award, a big anniversary.
Tip: little and often beats long and rare. A short post every couple of weeks keeps your website looking alive.